Drawer Repair
published on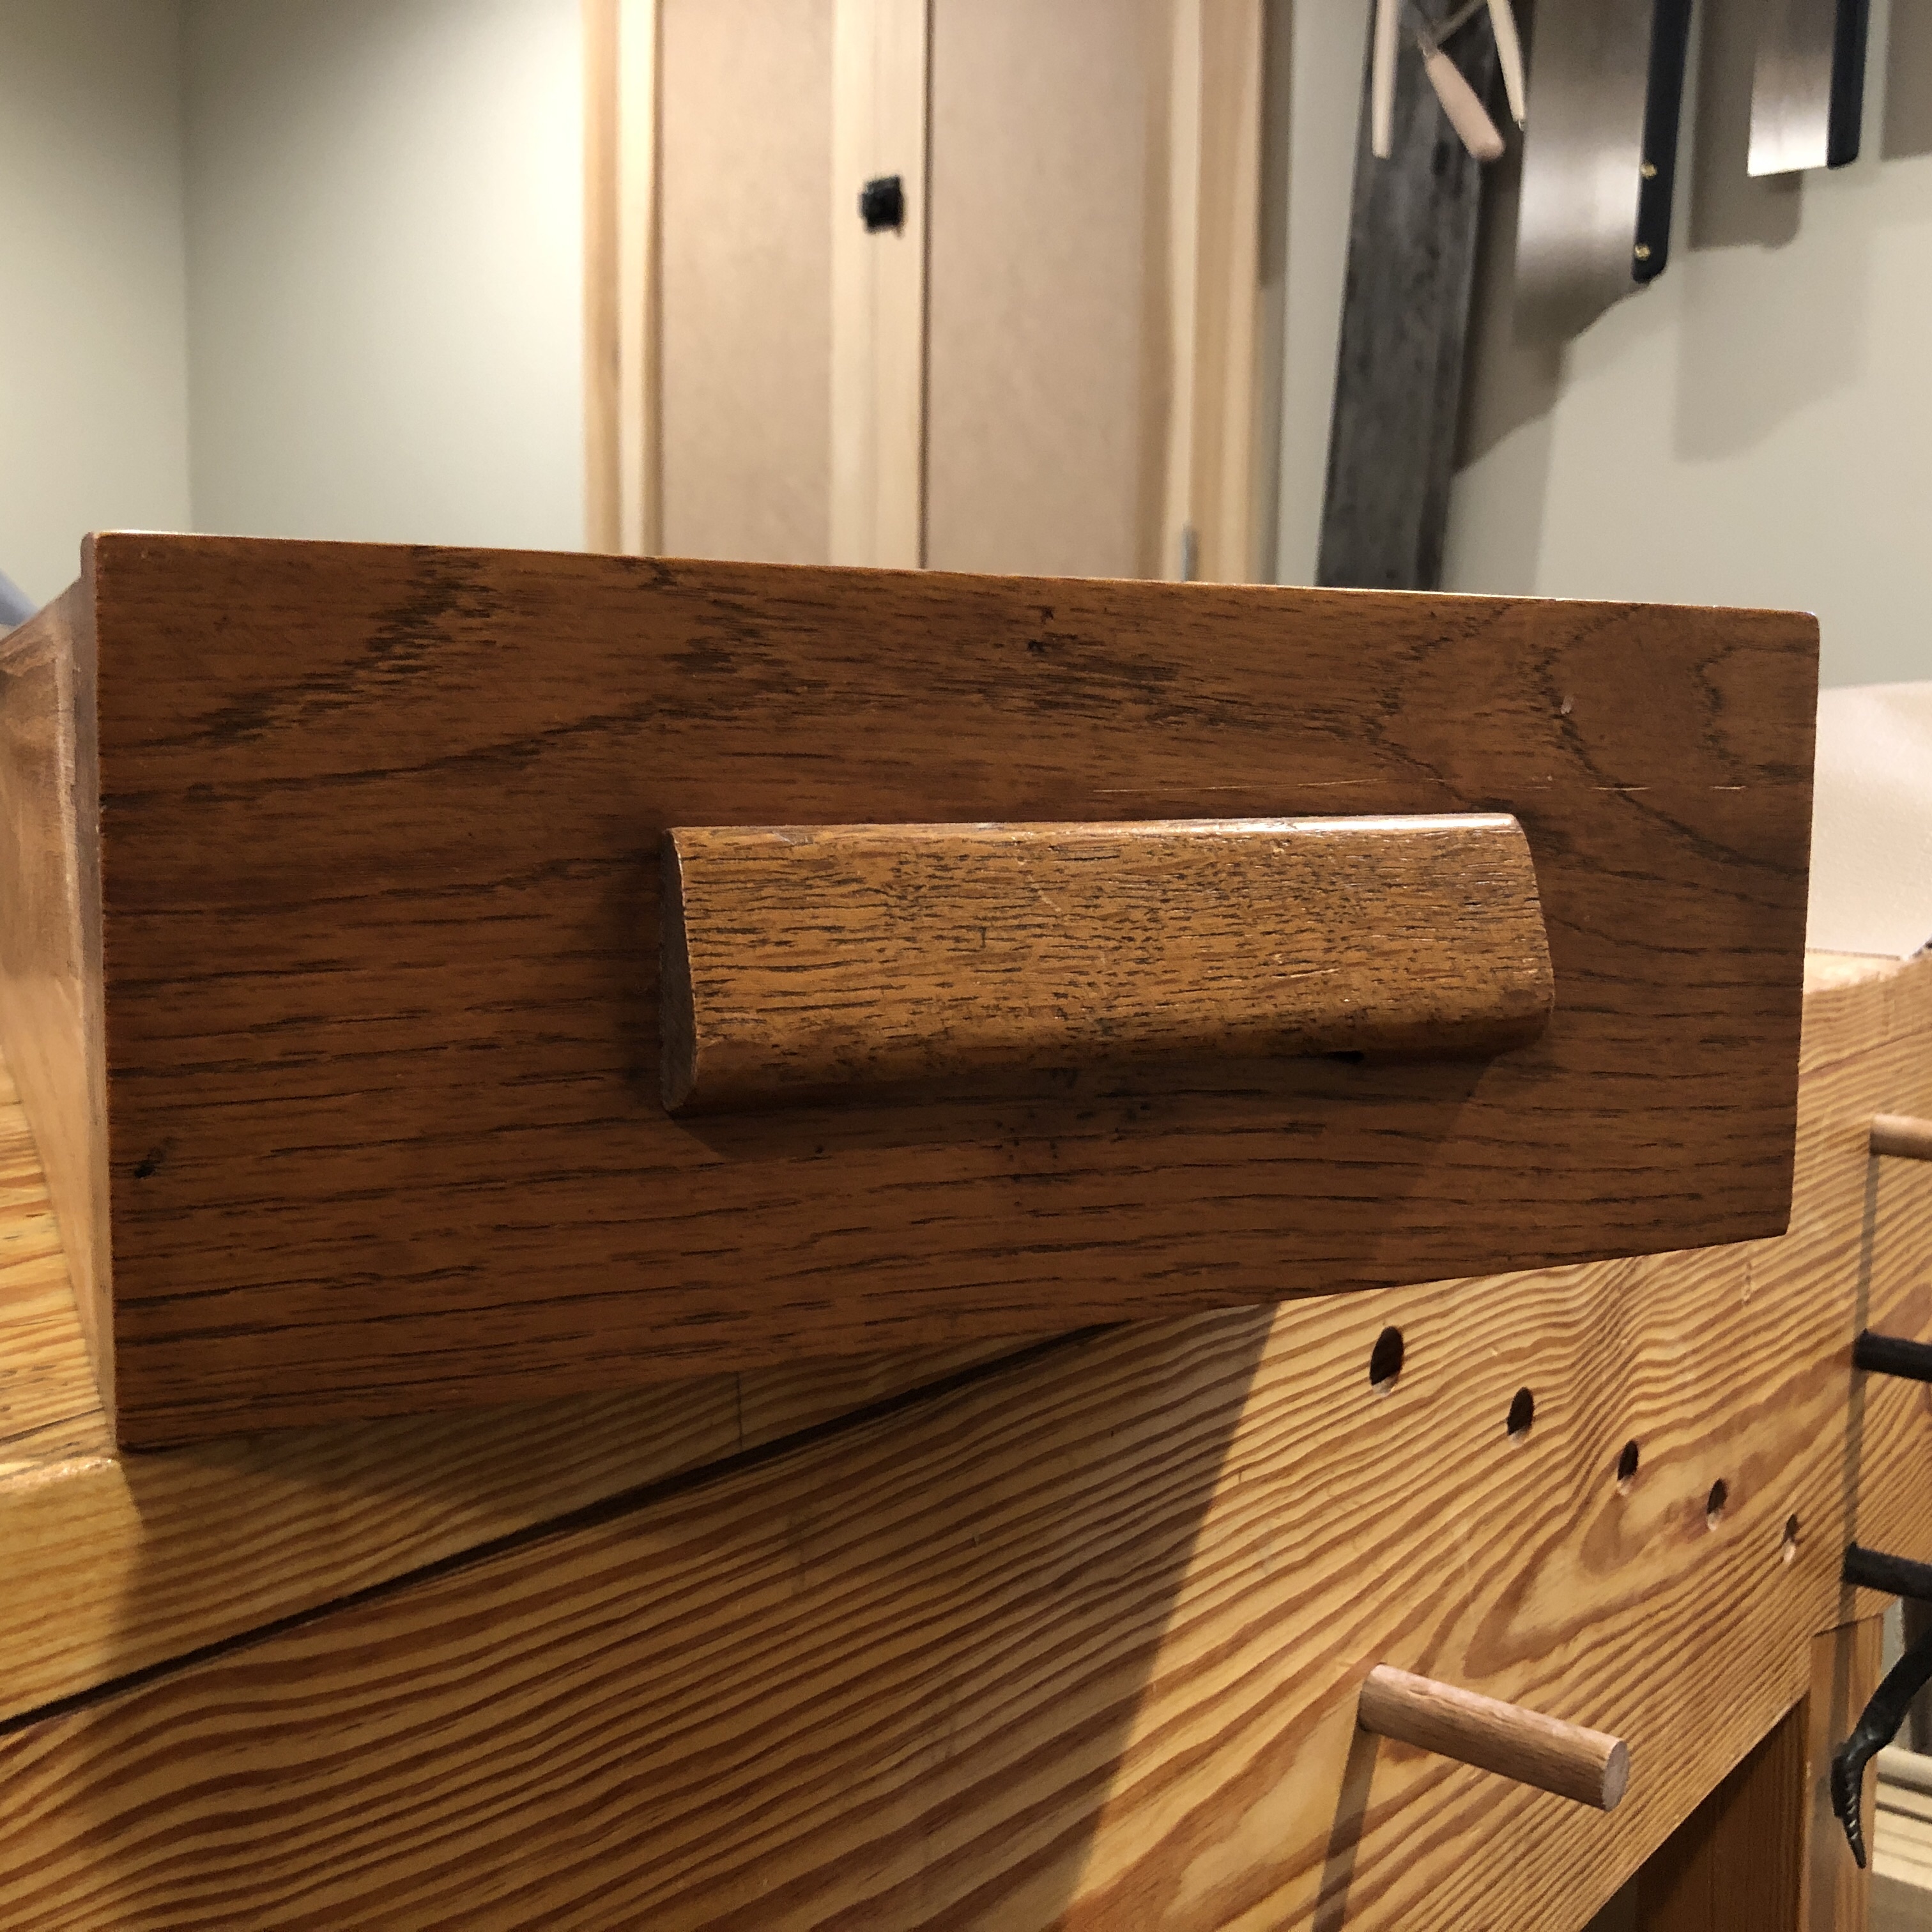
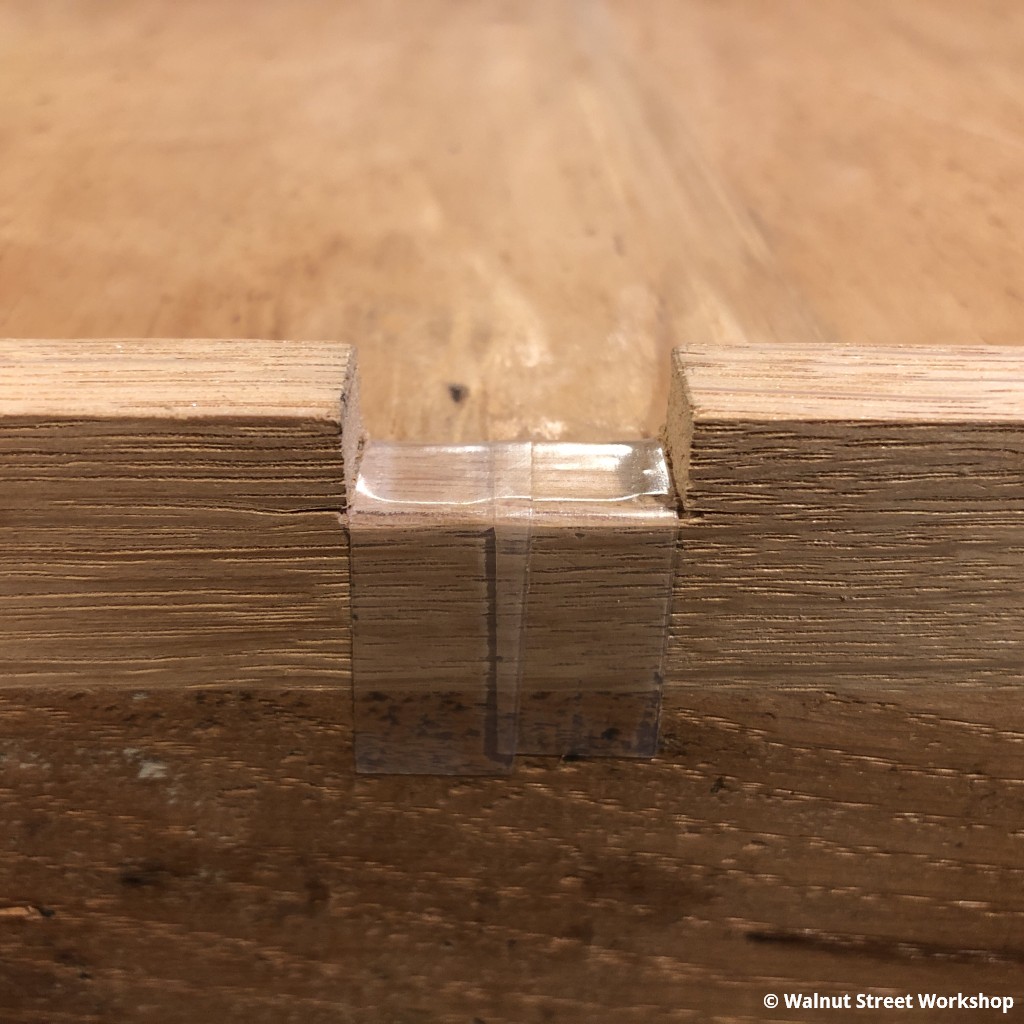
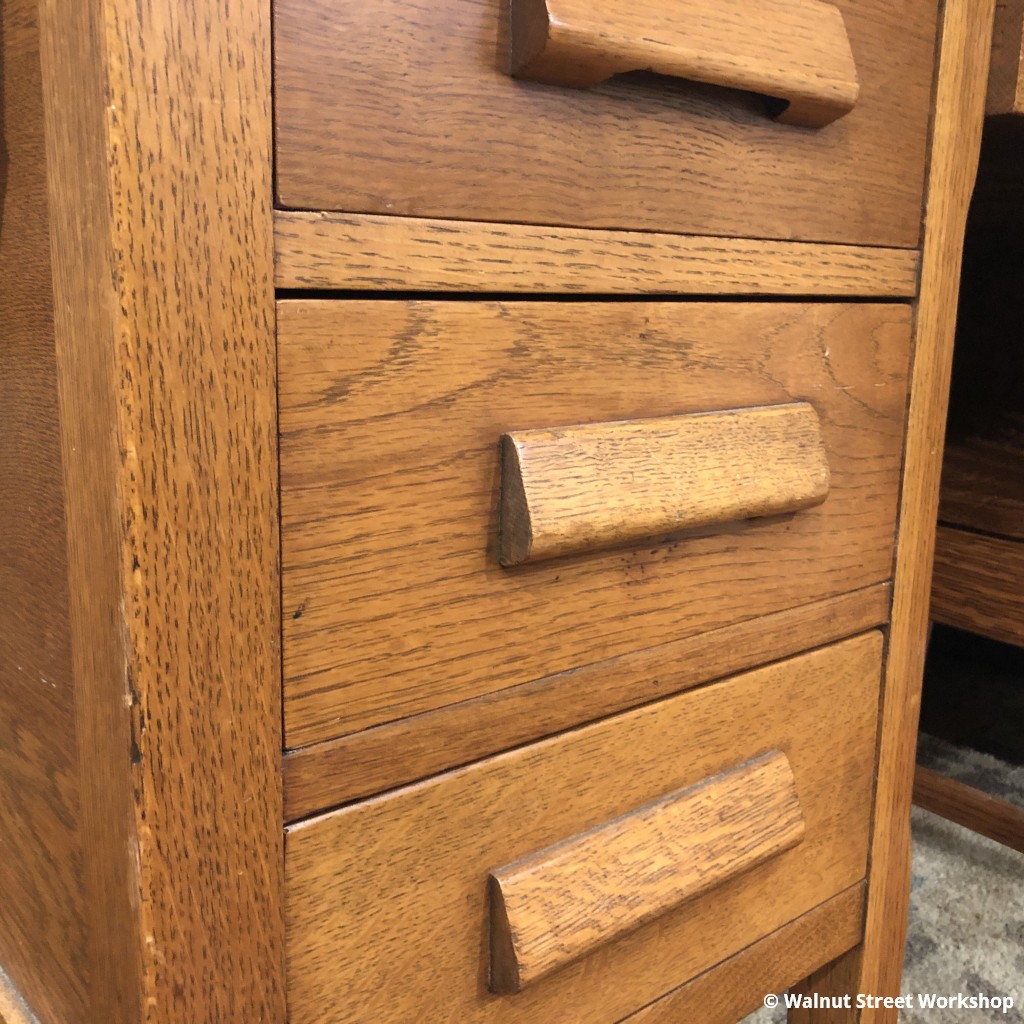
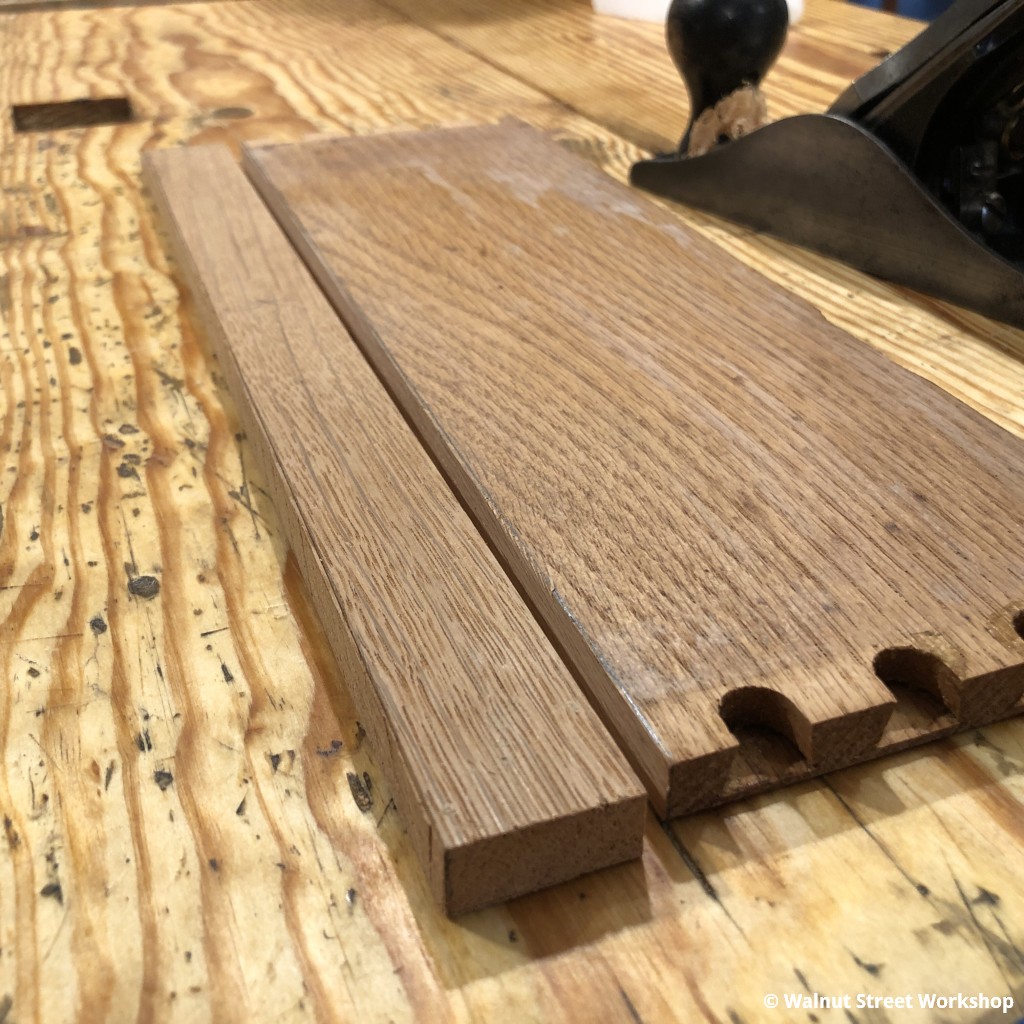
This vintage wood desk from The Ohio Desk Company needed a drawer repaired. The drawers are inset and glide along a center wood support. This guide not only keeps the drawer aligned inside the carcass, but also supports the back part of the drawer.
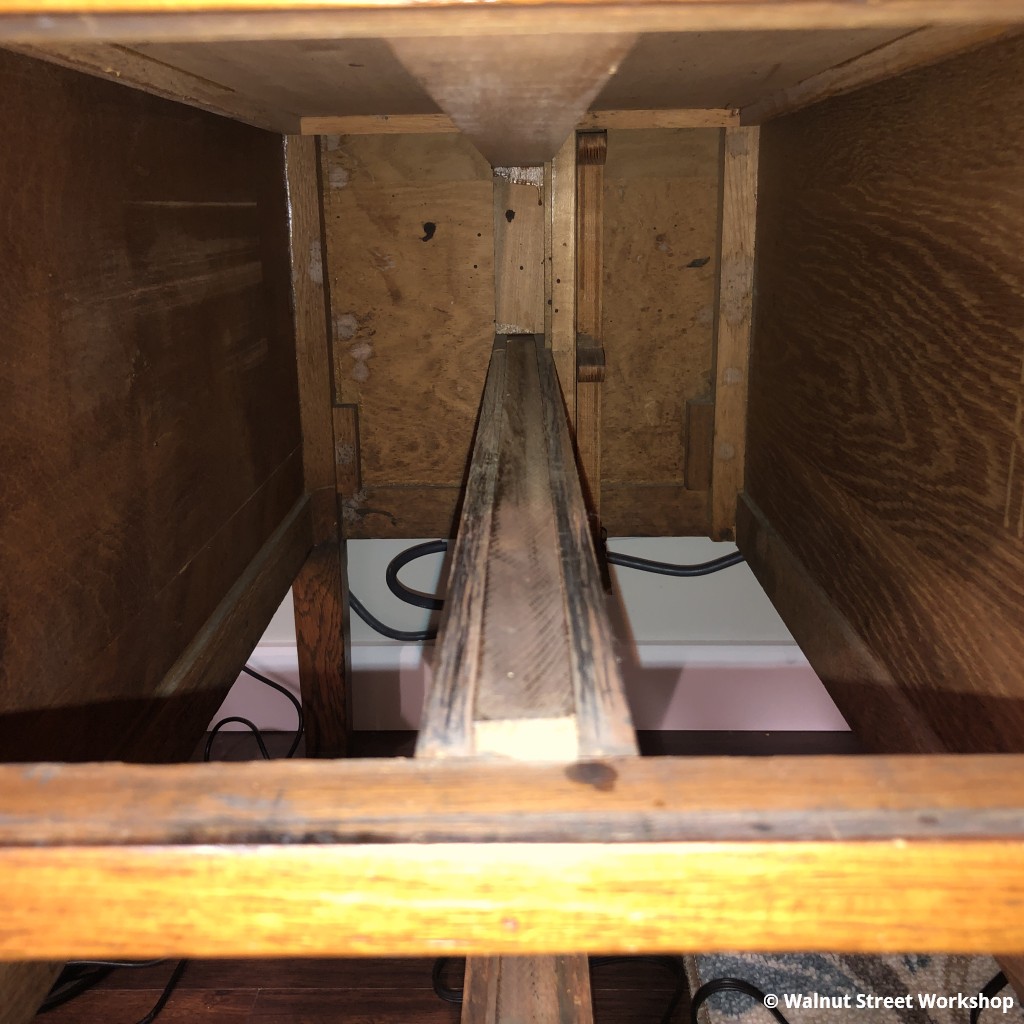
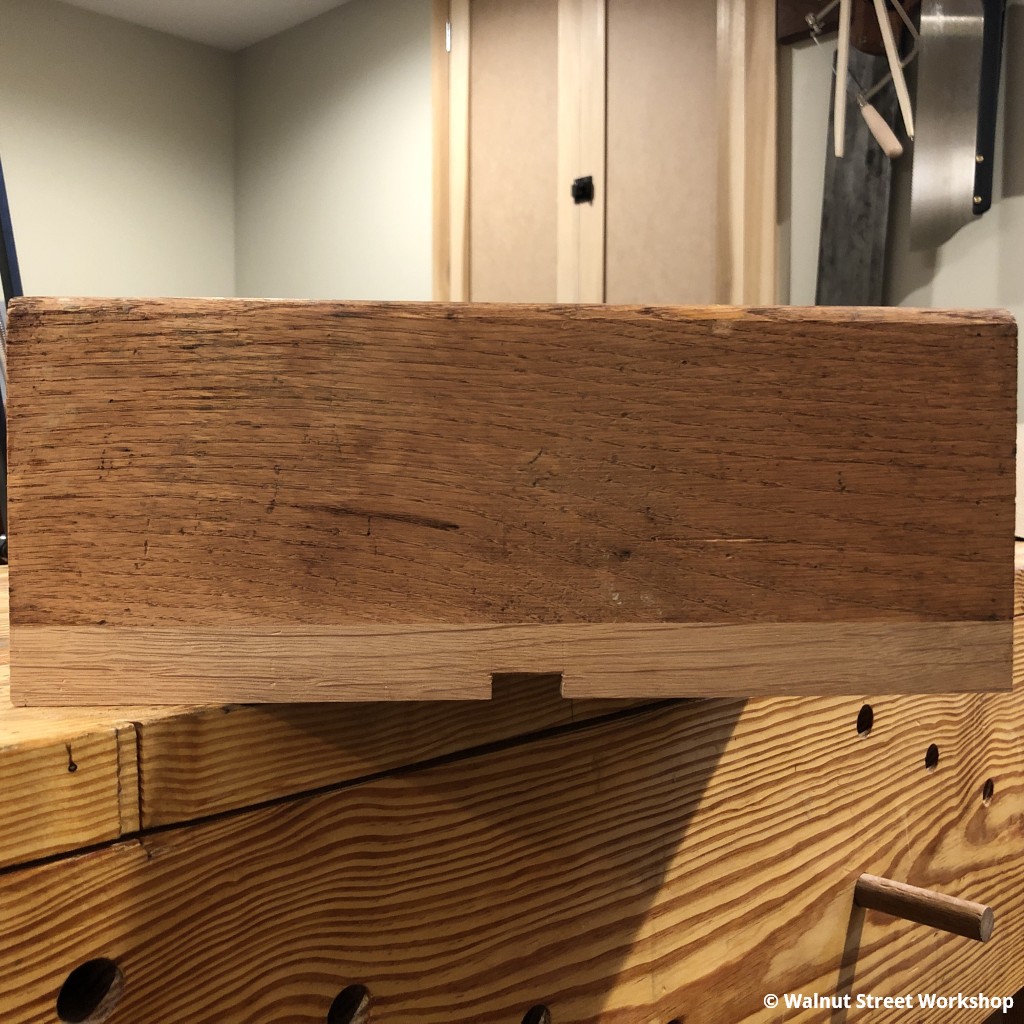
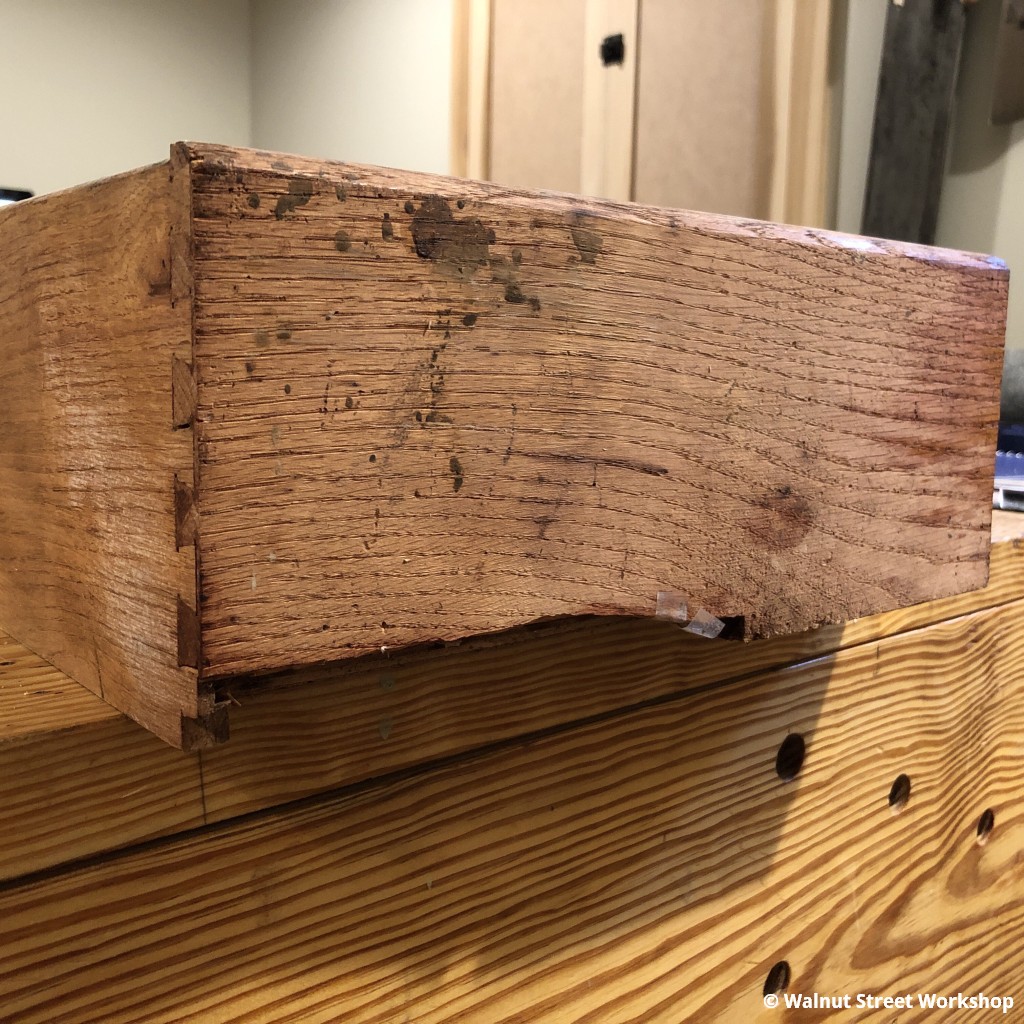
The back of the drawer is designed with a notch that straddles the drawer guide; however, this drawer had suffered damage on the back that prevented it from operating correctly.
Overview of the Repair
- Remove the drawer back
- Saw off the bottom portion of damage
- Joint and glue in a patch
- Cut joinery in the patched area
- Reassemble
Disassembly
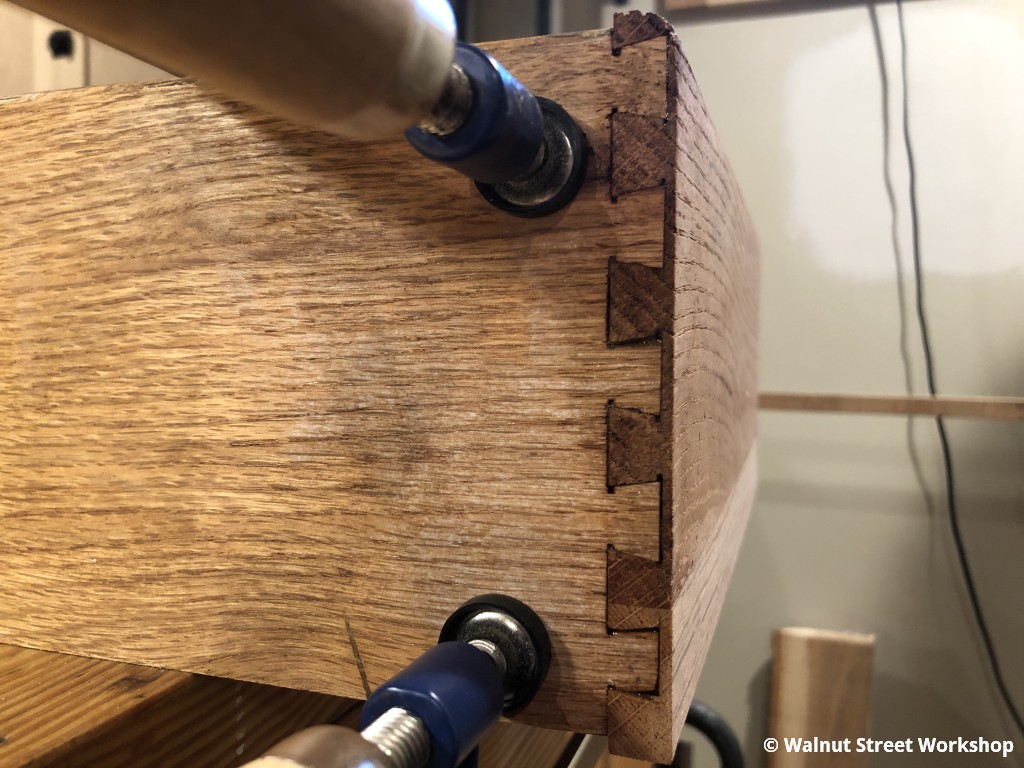
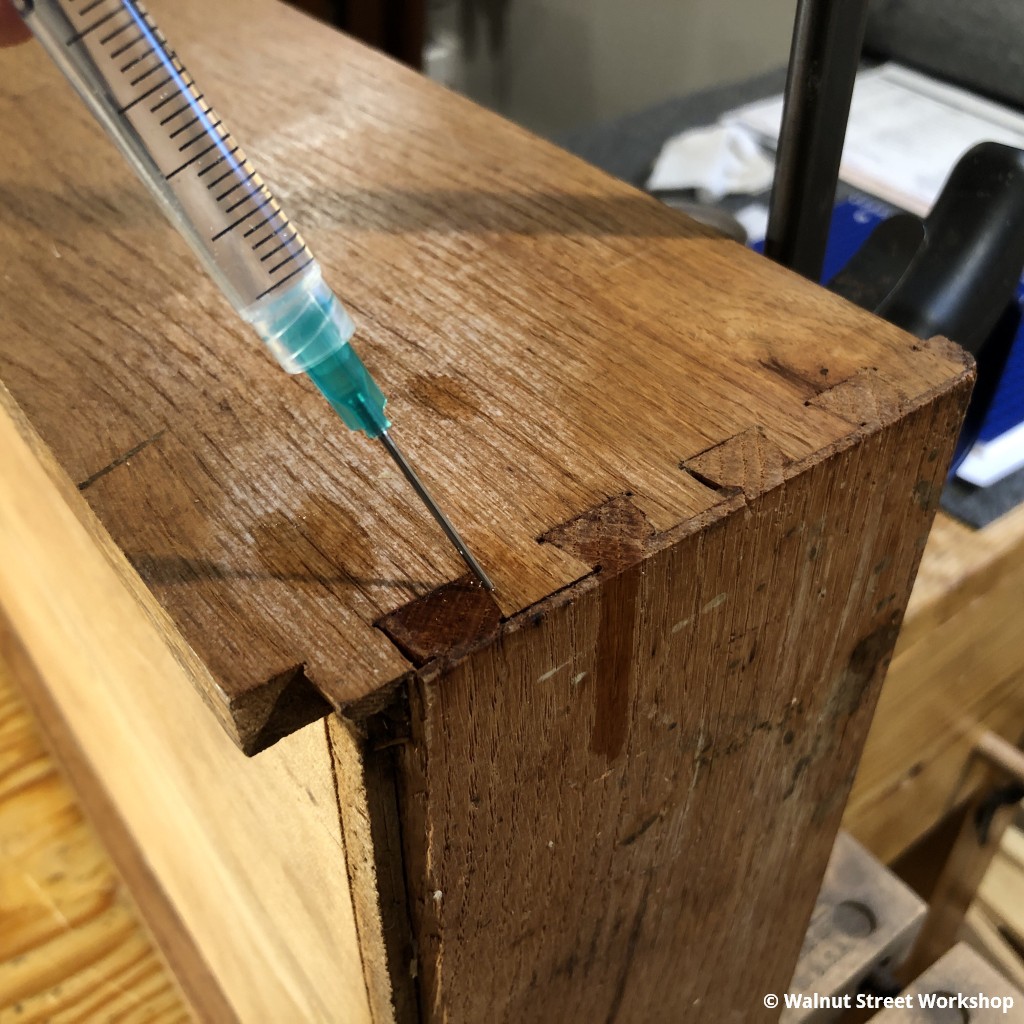
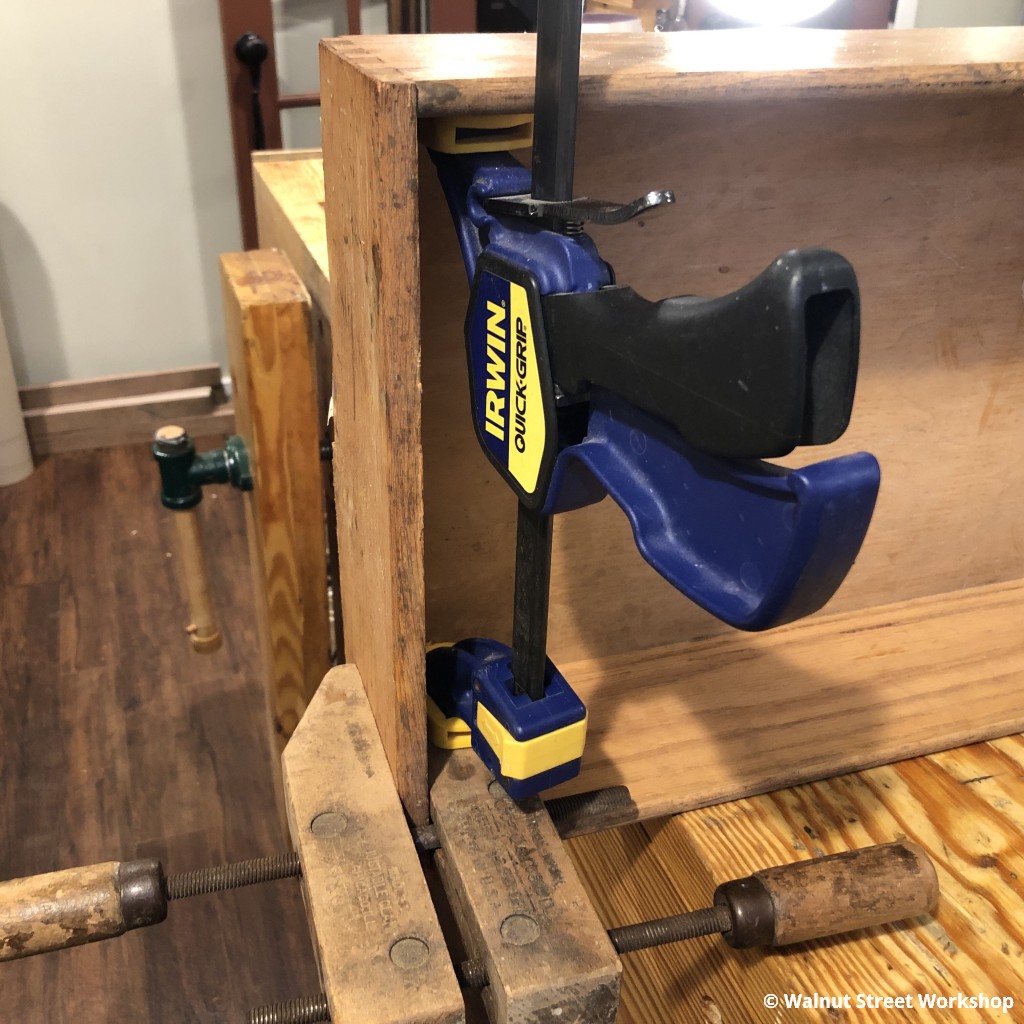
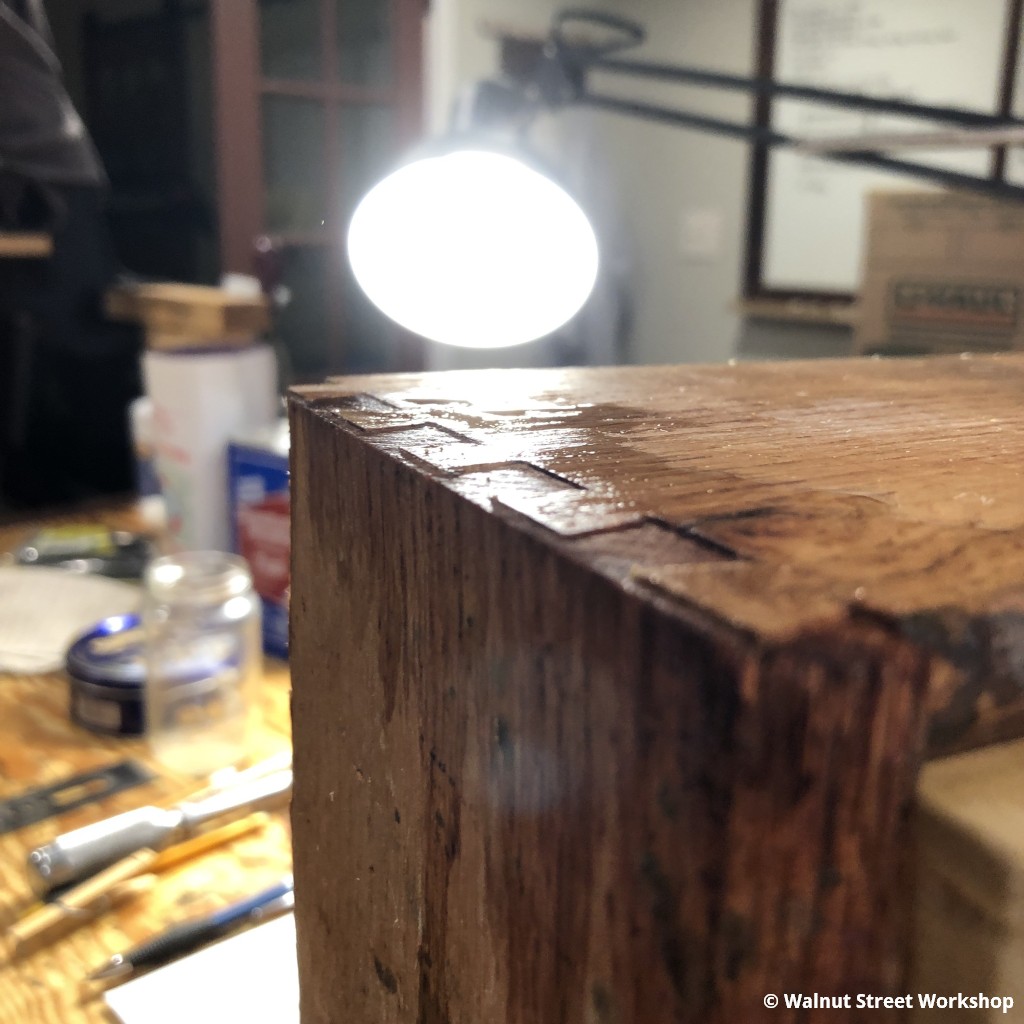
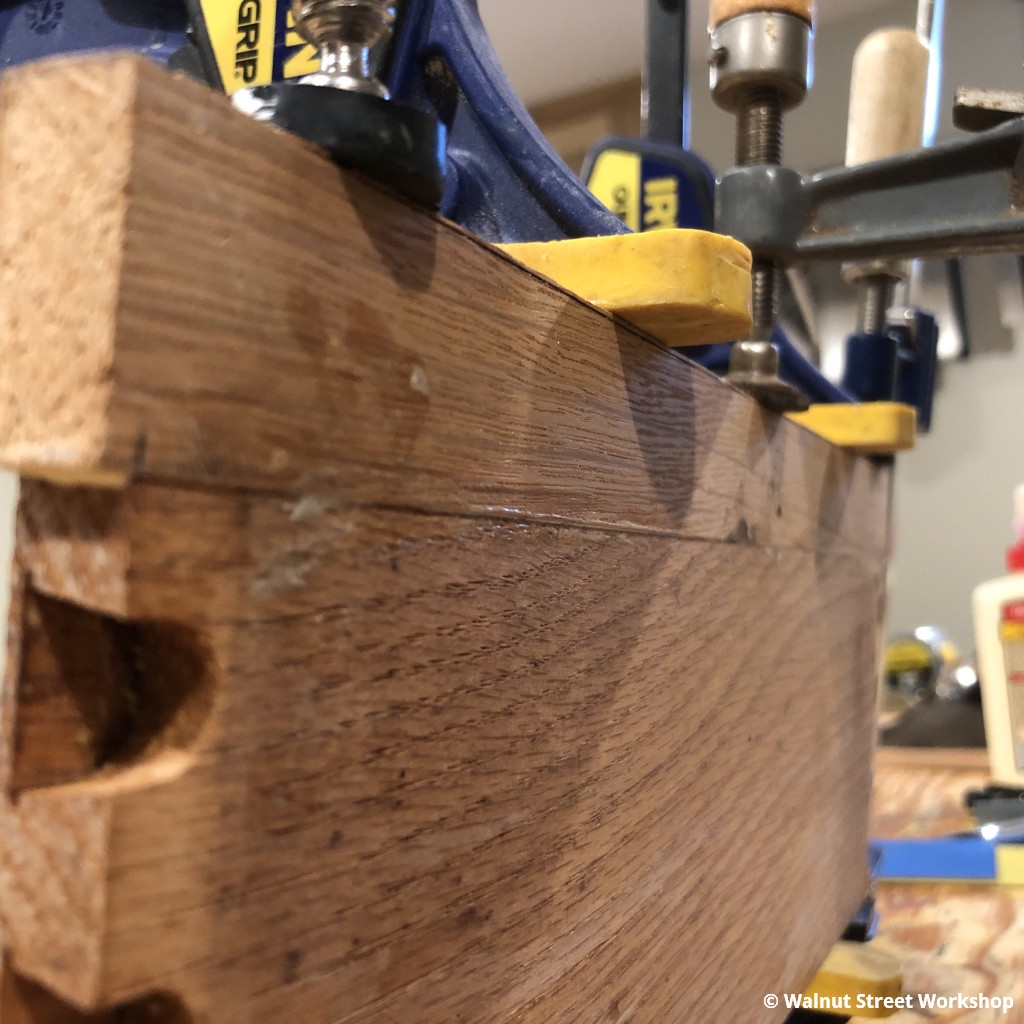
The desk is old enough to have been assembled with what appears to have been hide glue or, at least, a glue that's soluble with alcohol. Injecting the dovetails with denatured alcohol while also applying a spreading force with a clamp, the joint is slowly pushed apart without damage.

Install a Patch
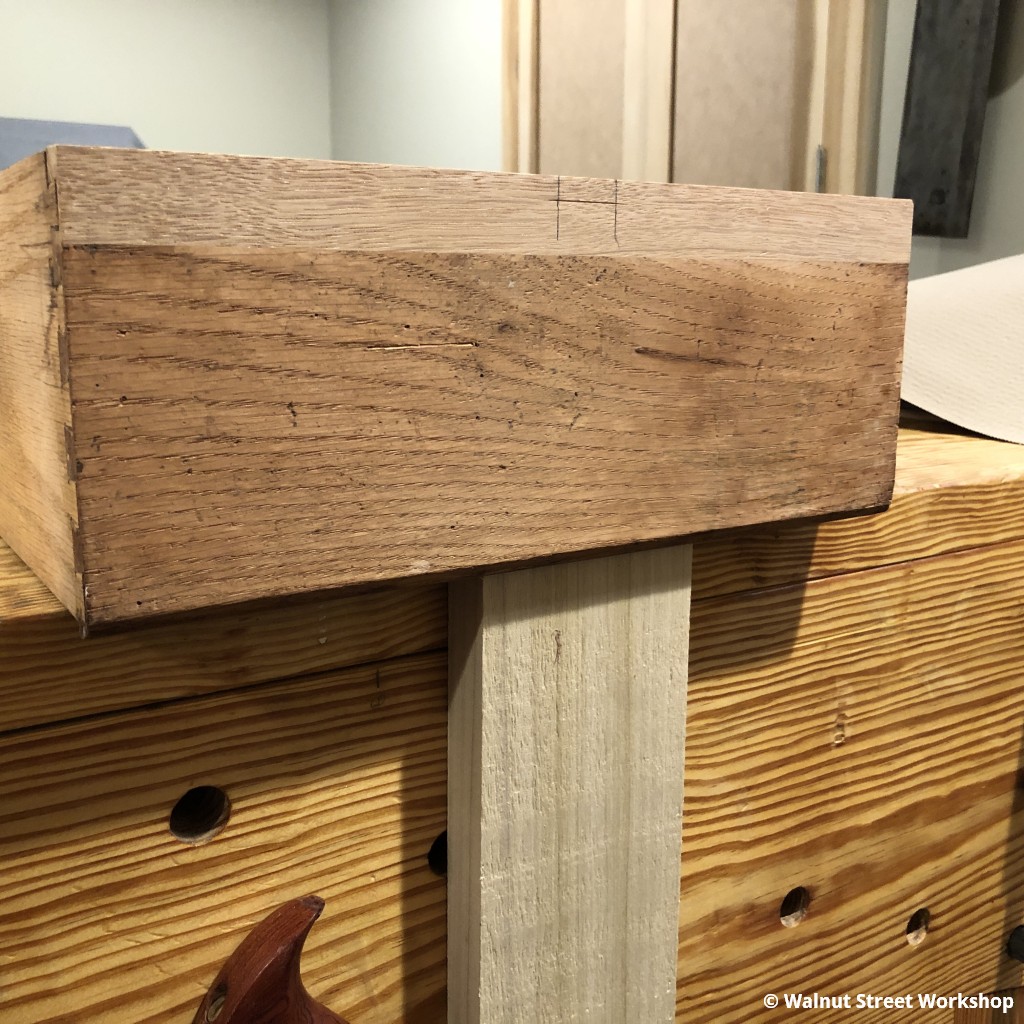
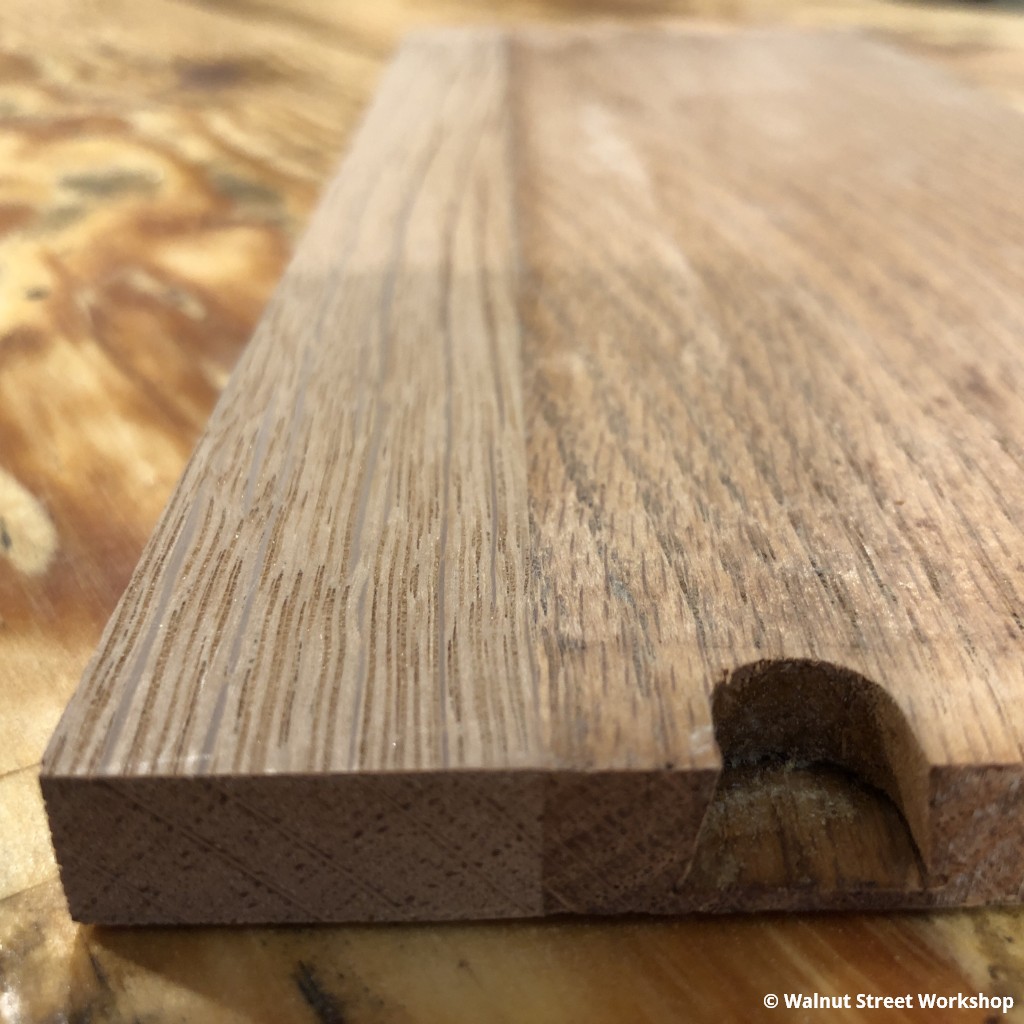
An old piece of oak salvaged from a broken bed frame is ideal for this patch. The damaged portion is sawn off and the patch is prepared slightly oversized.
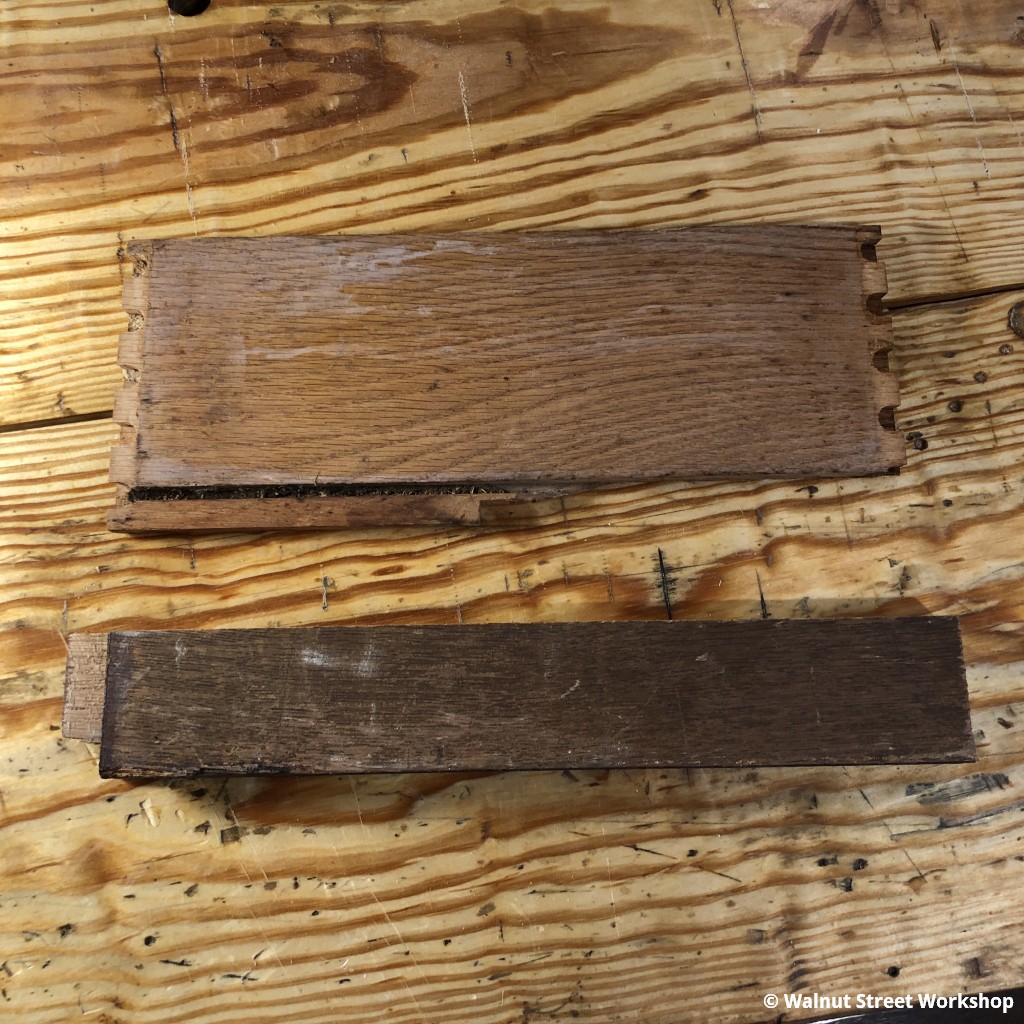
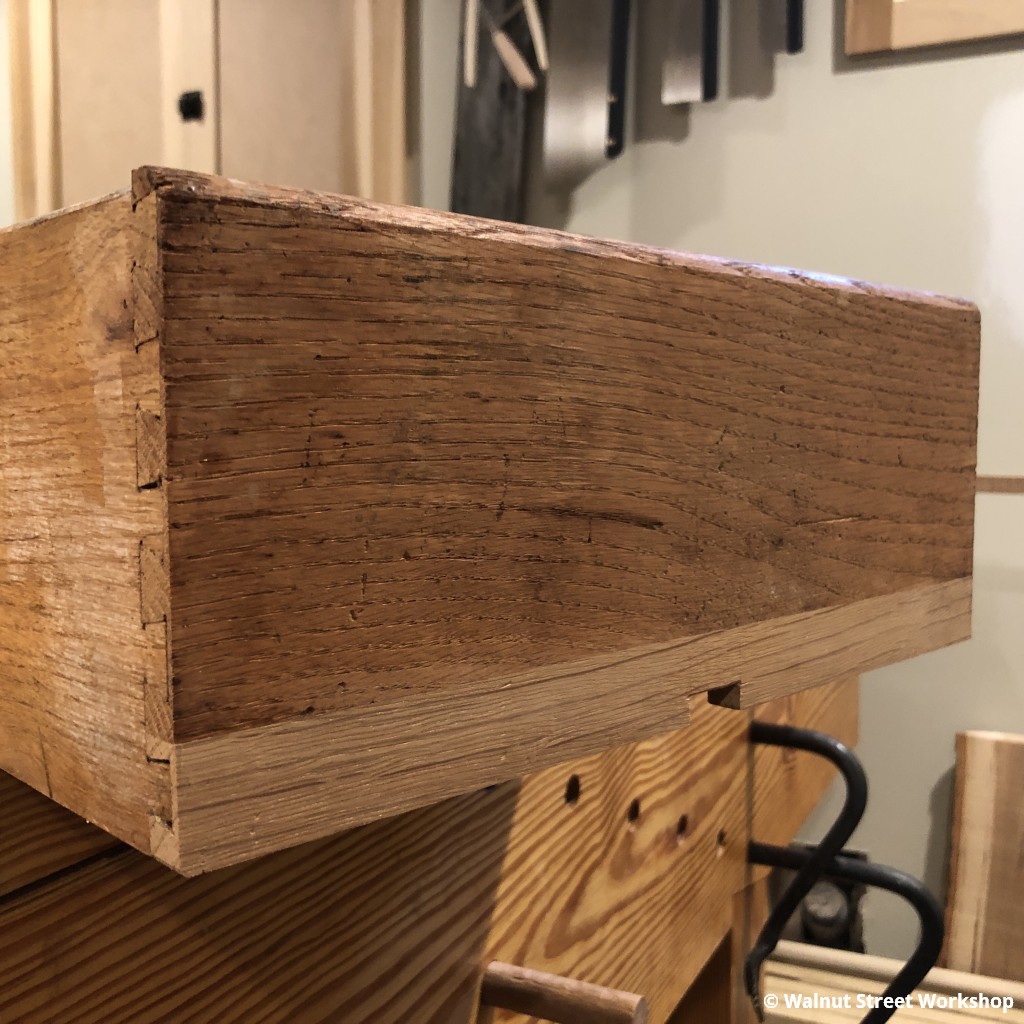
After glue-up, the patch is trimmed to match the original piece, making a perfect fit.
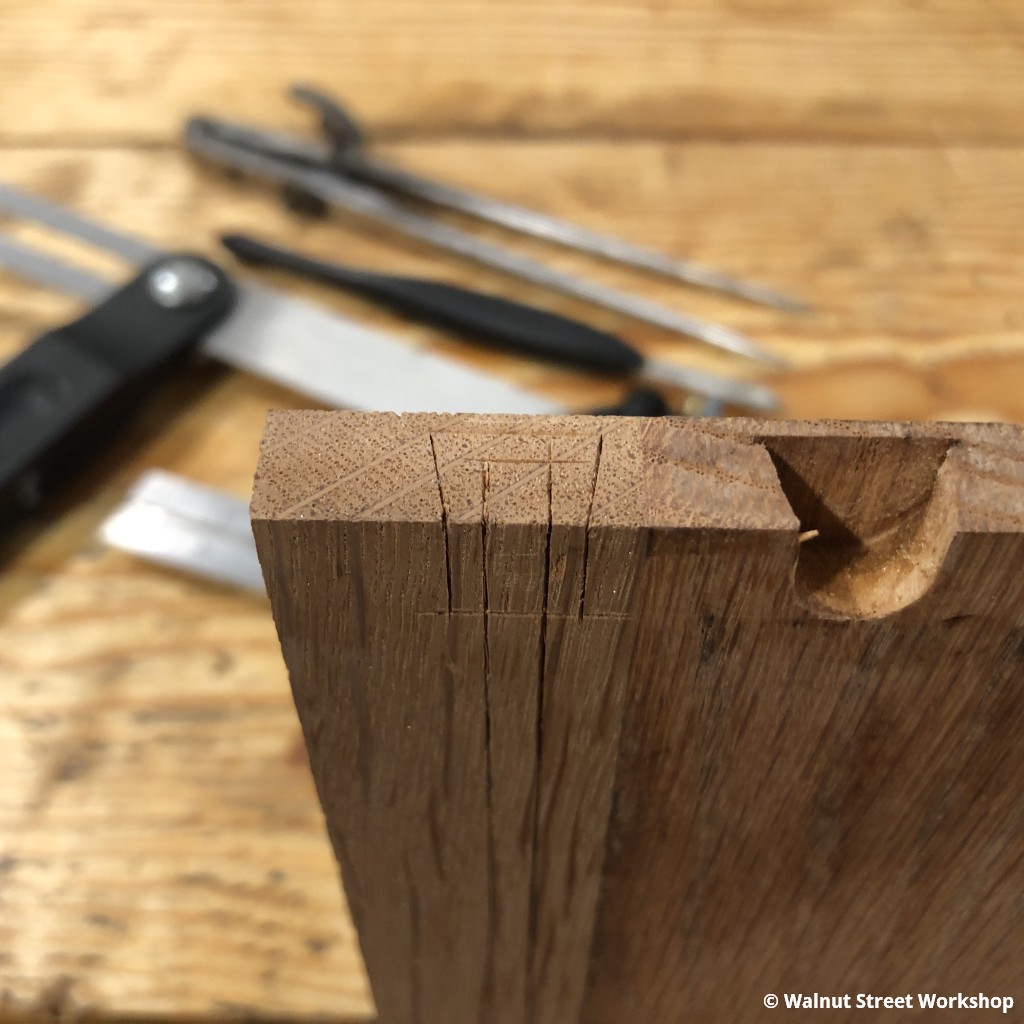
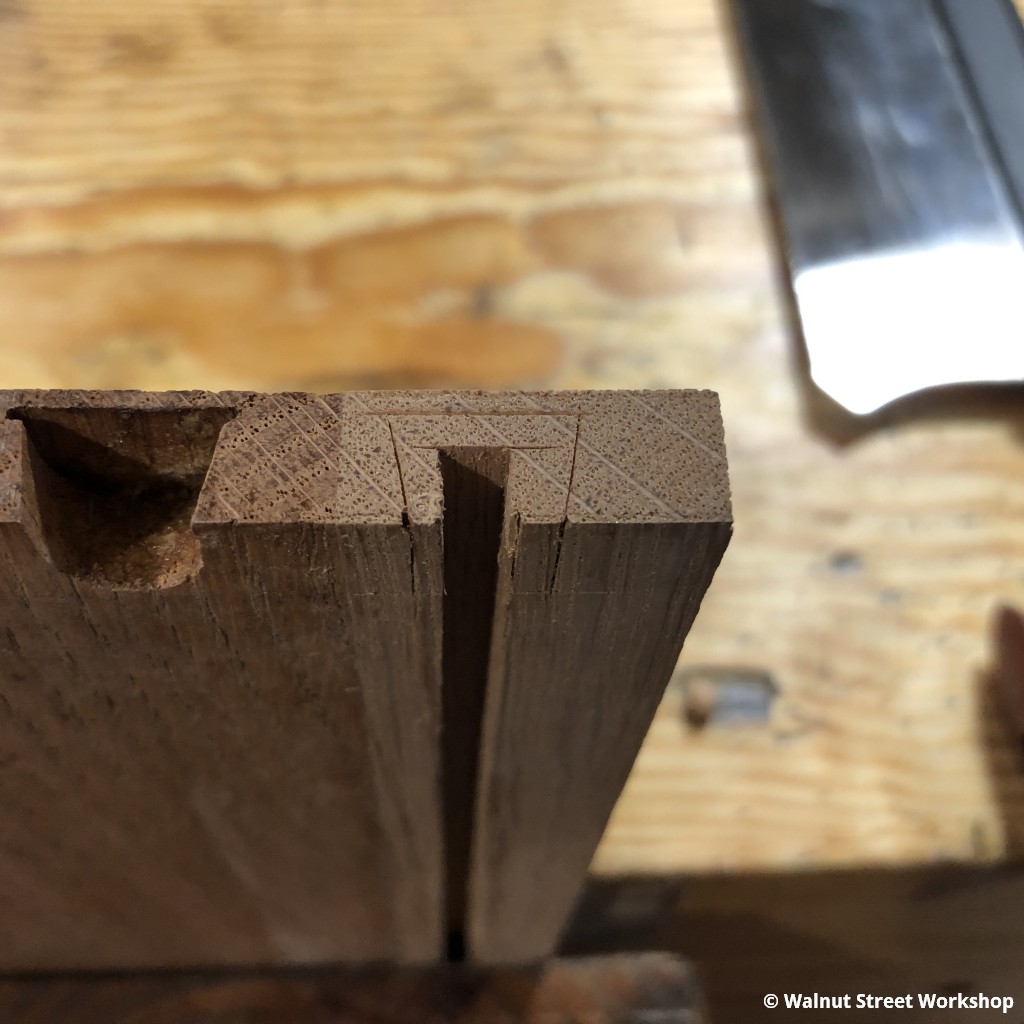
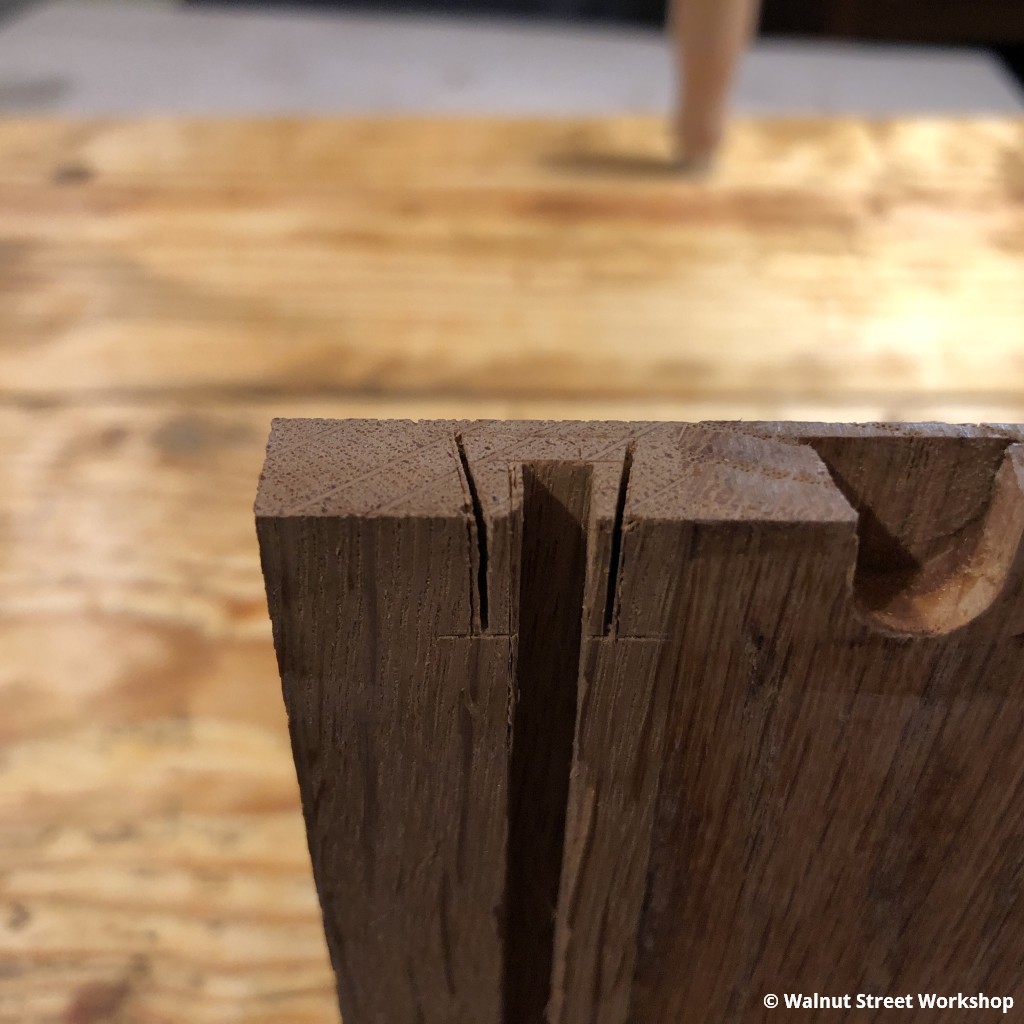
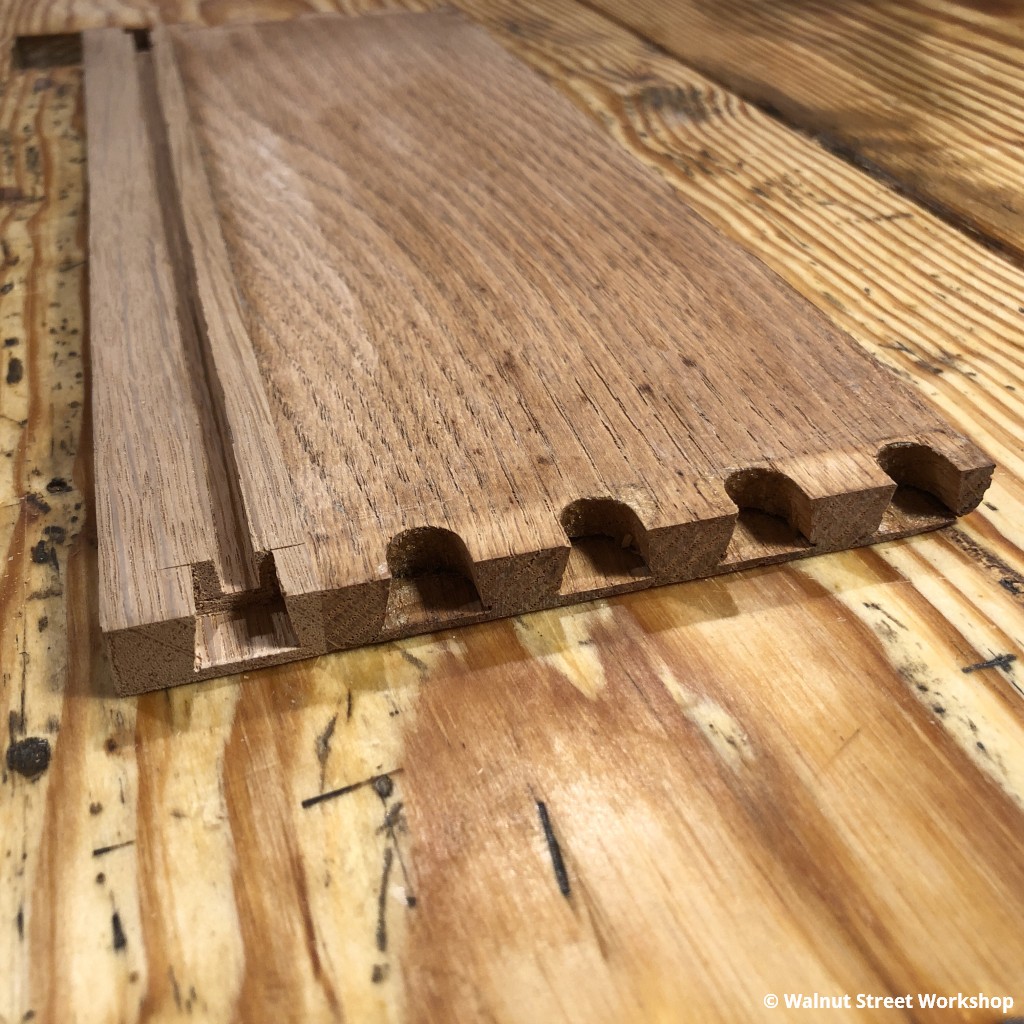
Cutting New Joinery
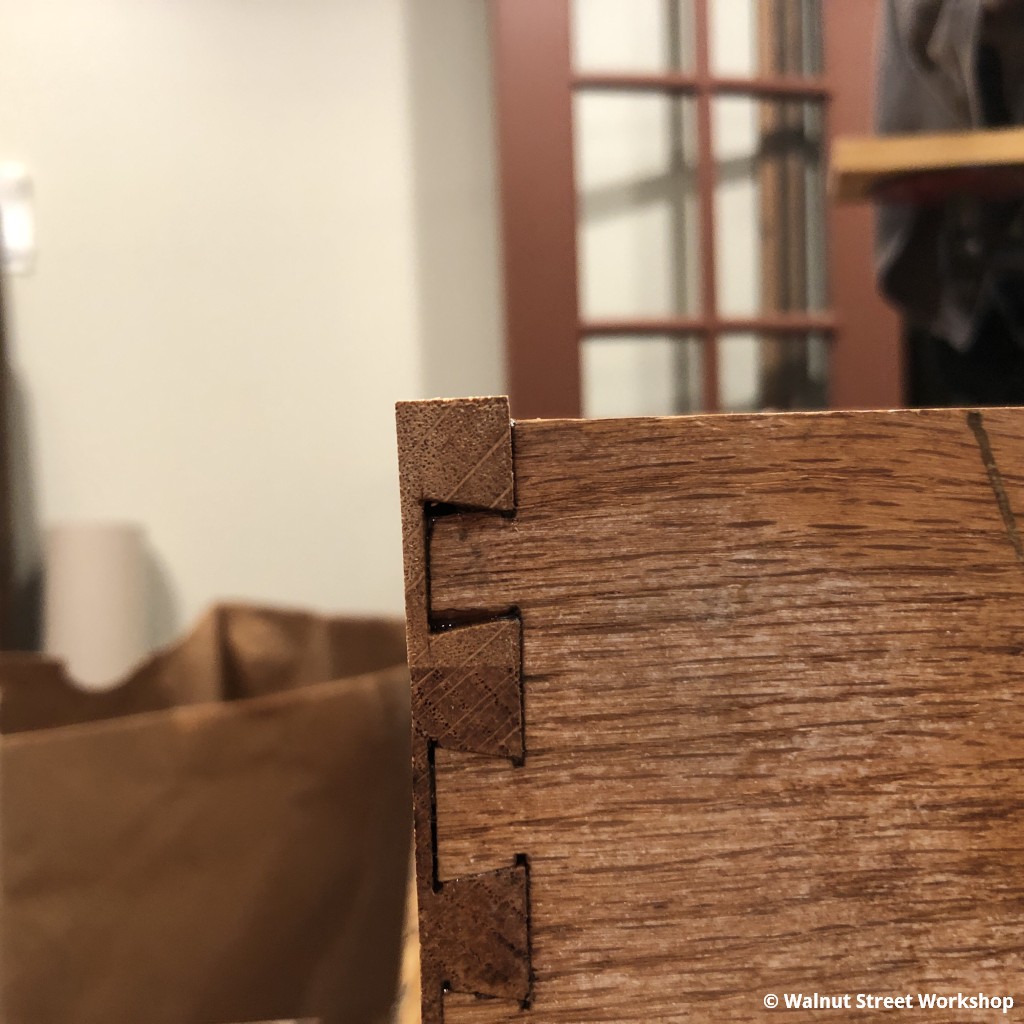
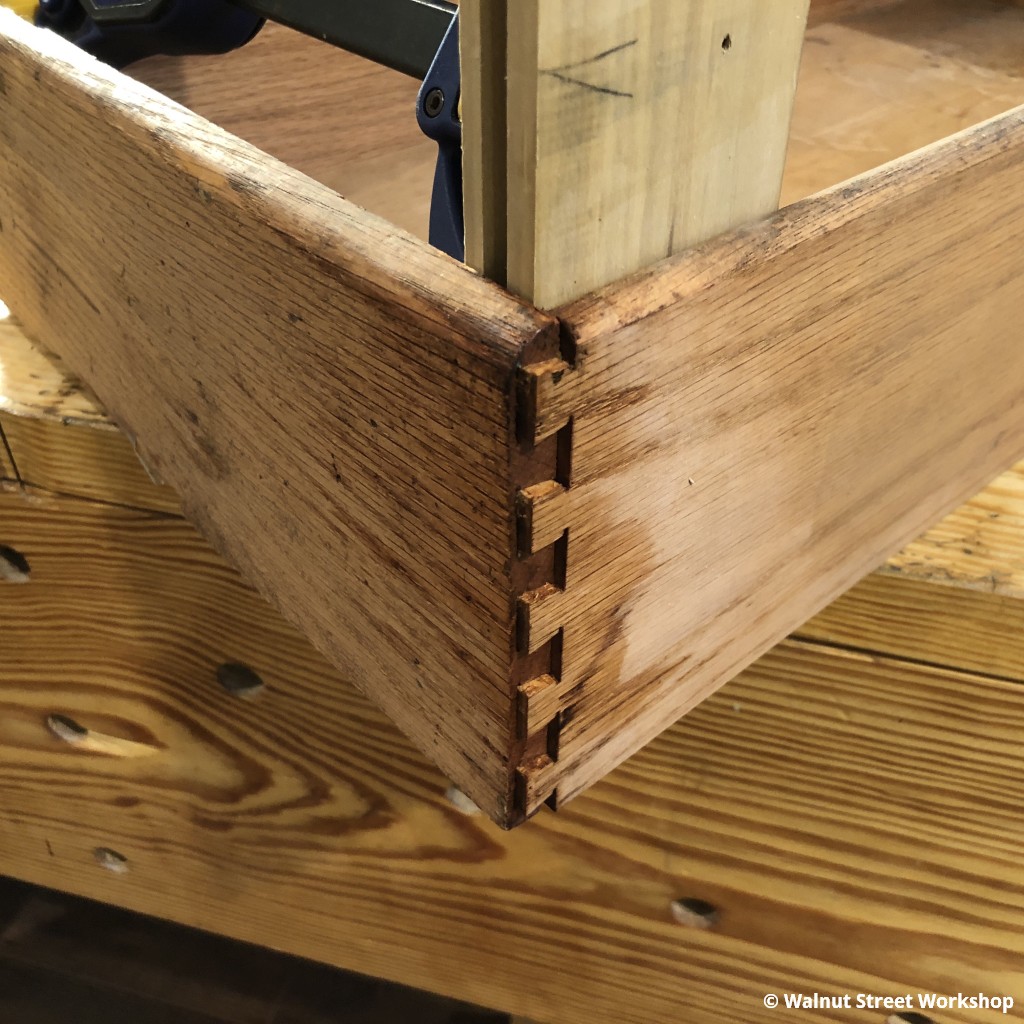
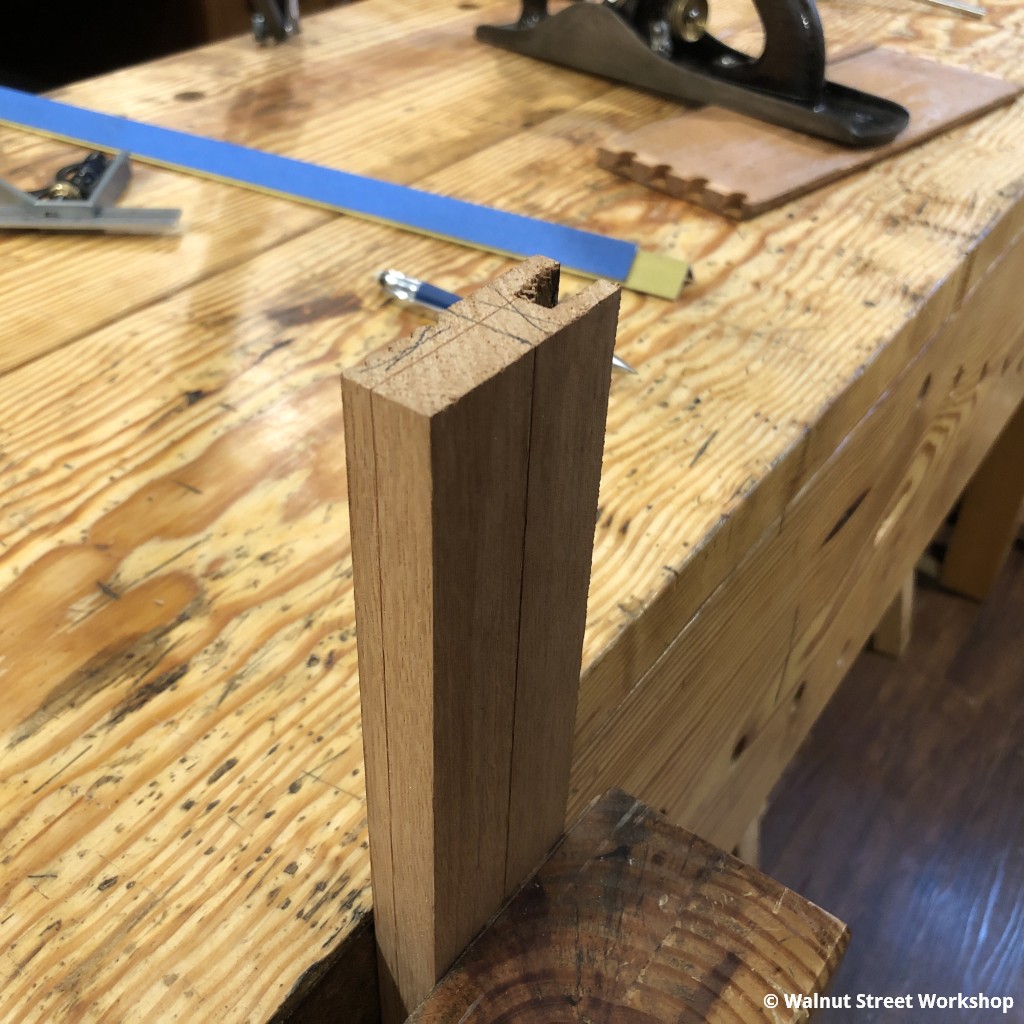
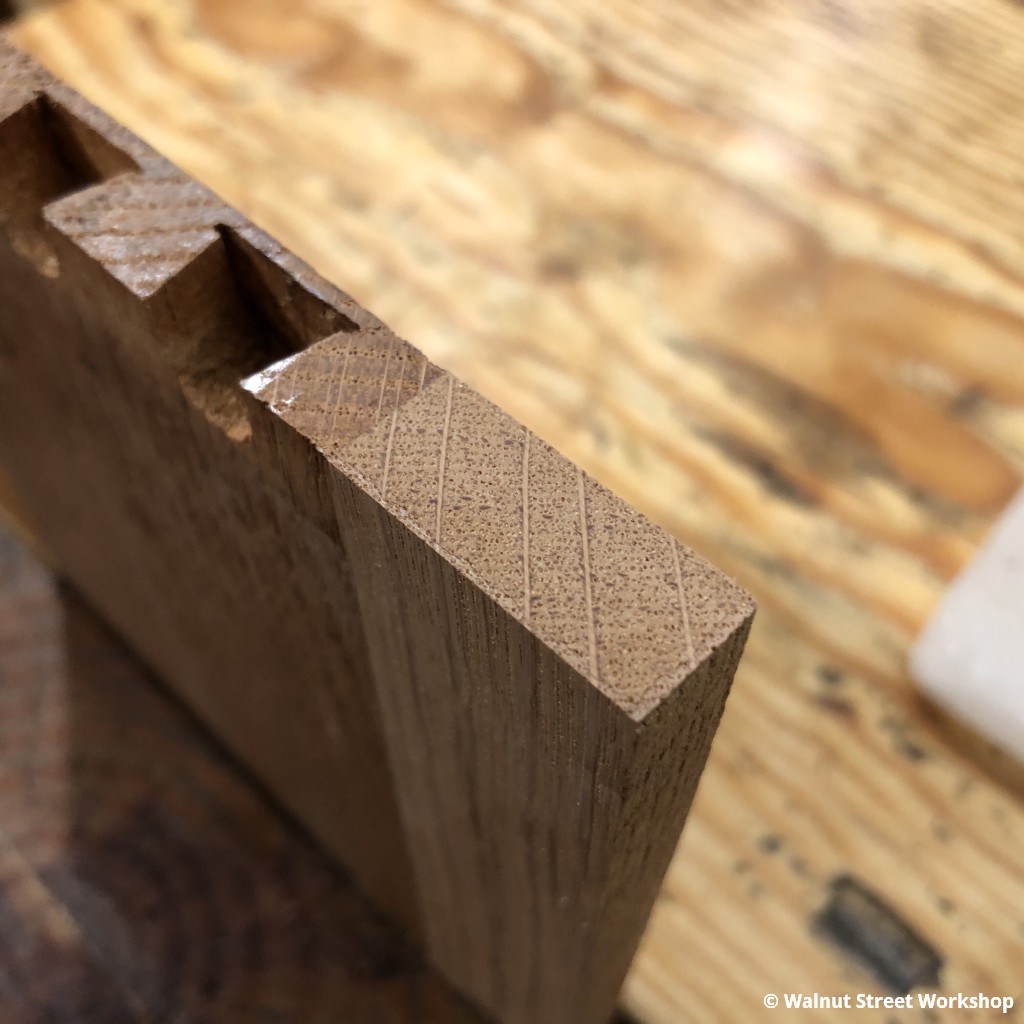
With the patch installed, the joinery can be cut. These are half-blind dovetails and the damaged portion included one socket on each side plus a groove for the drawer bottom. Transferring the tail angle, spacing, and position of the groove is straightforward.
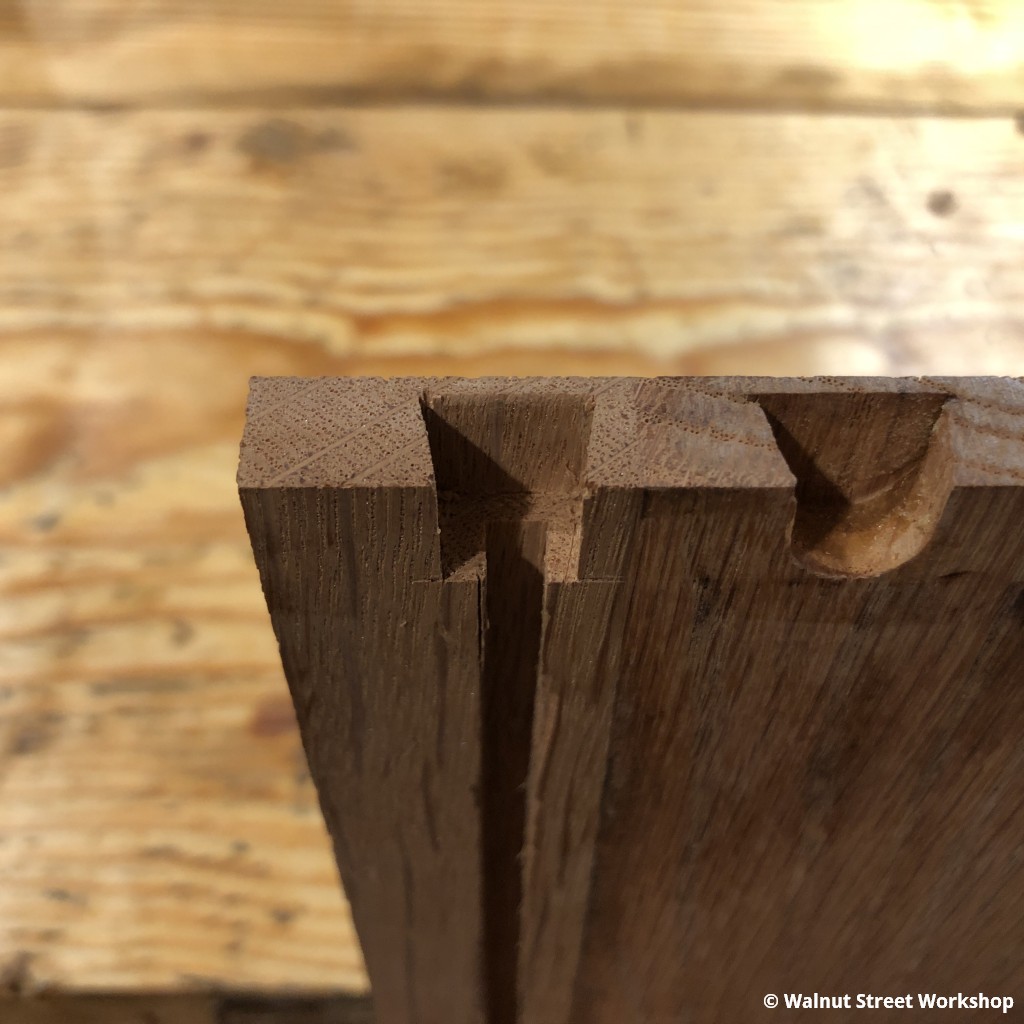
The drawer can be assembled again (with hide glue). After assembly, the patch will still need planed down before cutting the center guide notch.