
Shaker-style Side Table - Part 2
published on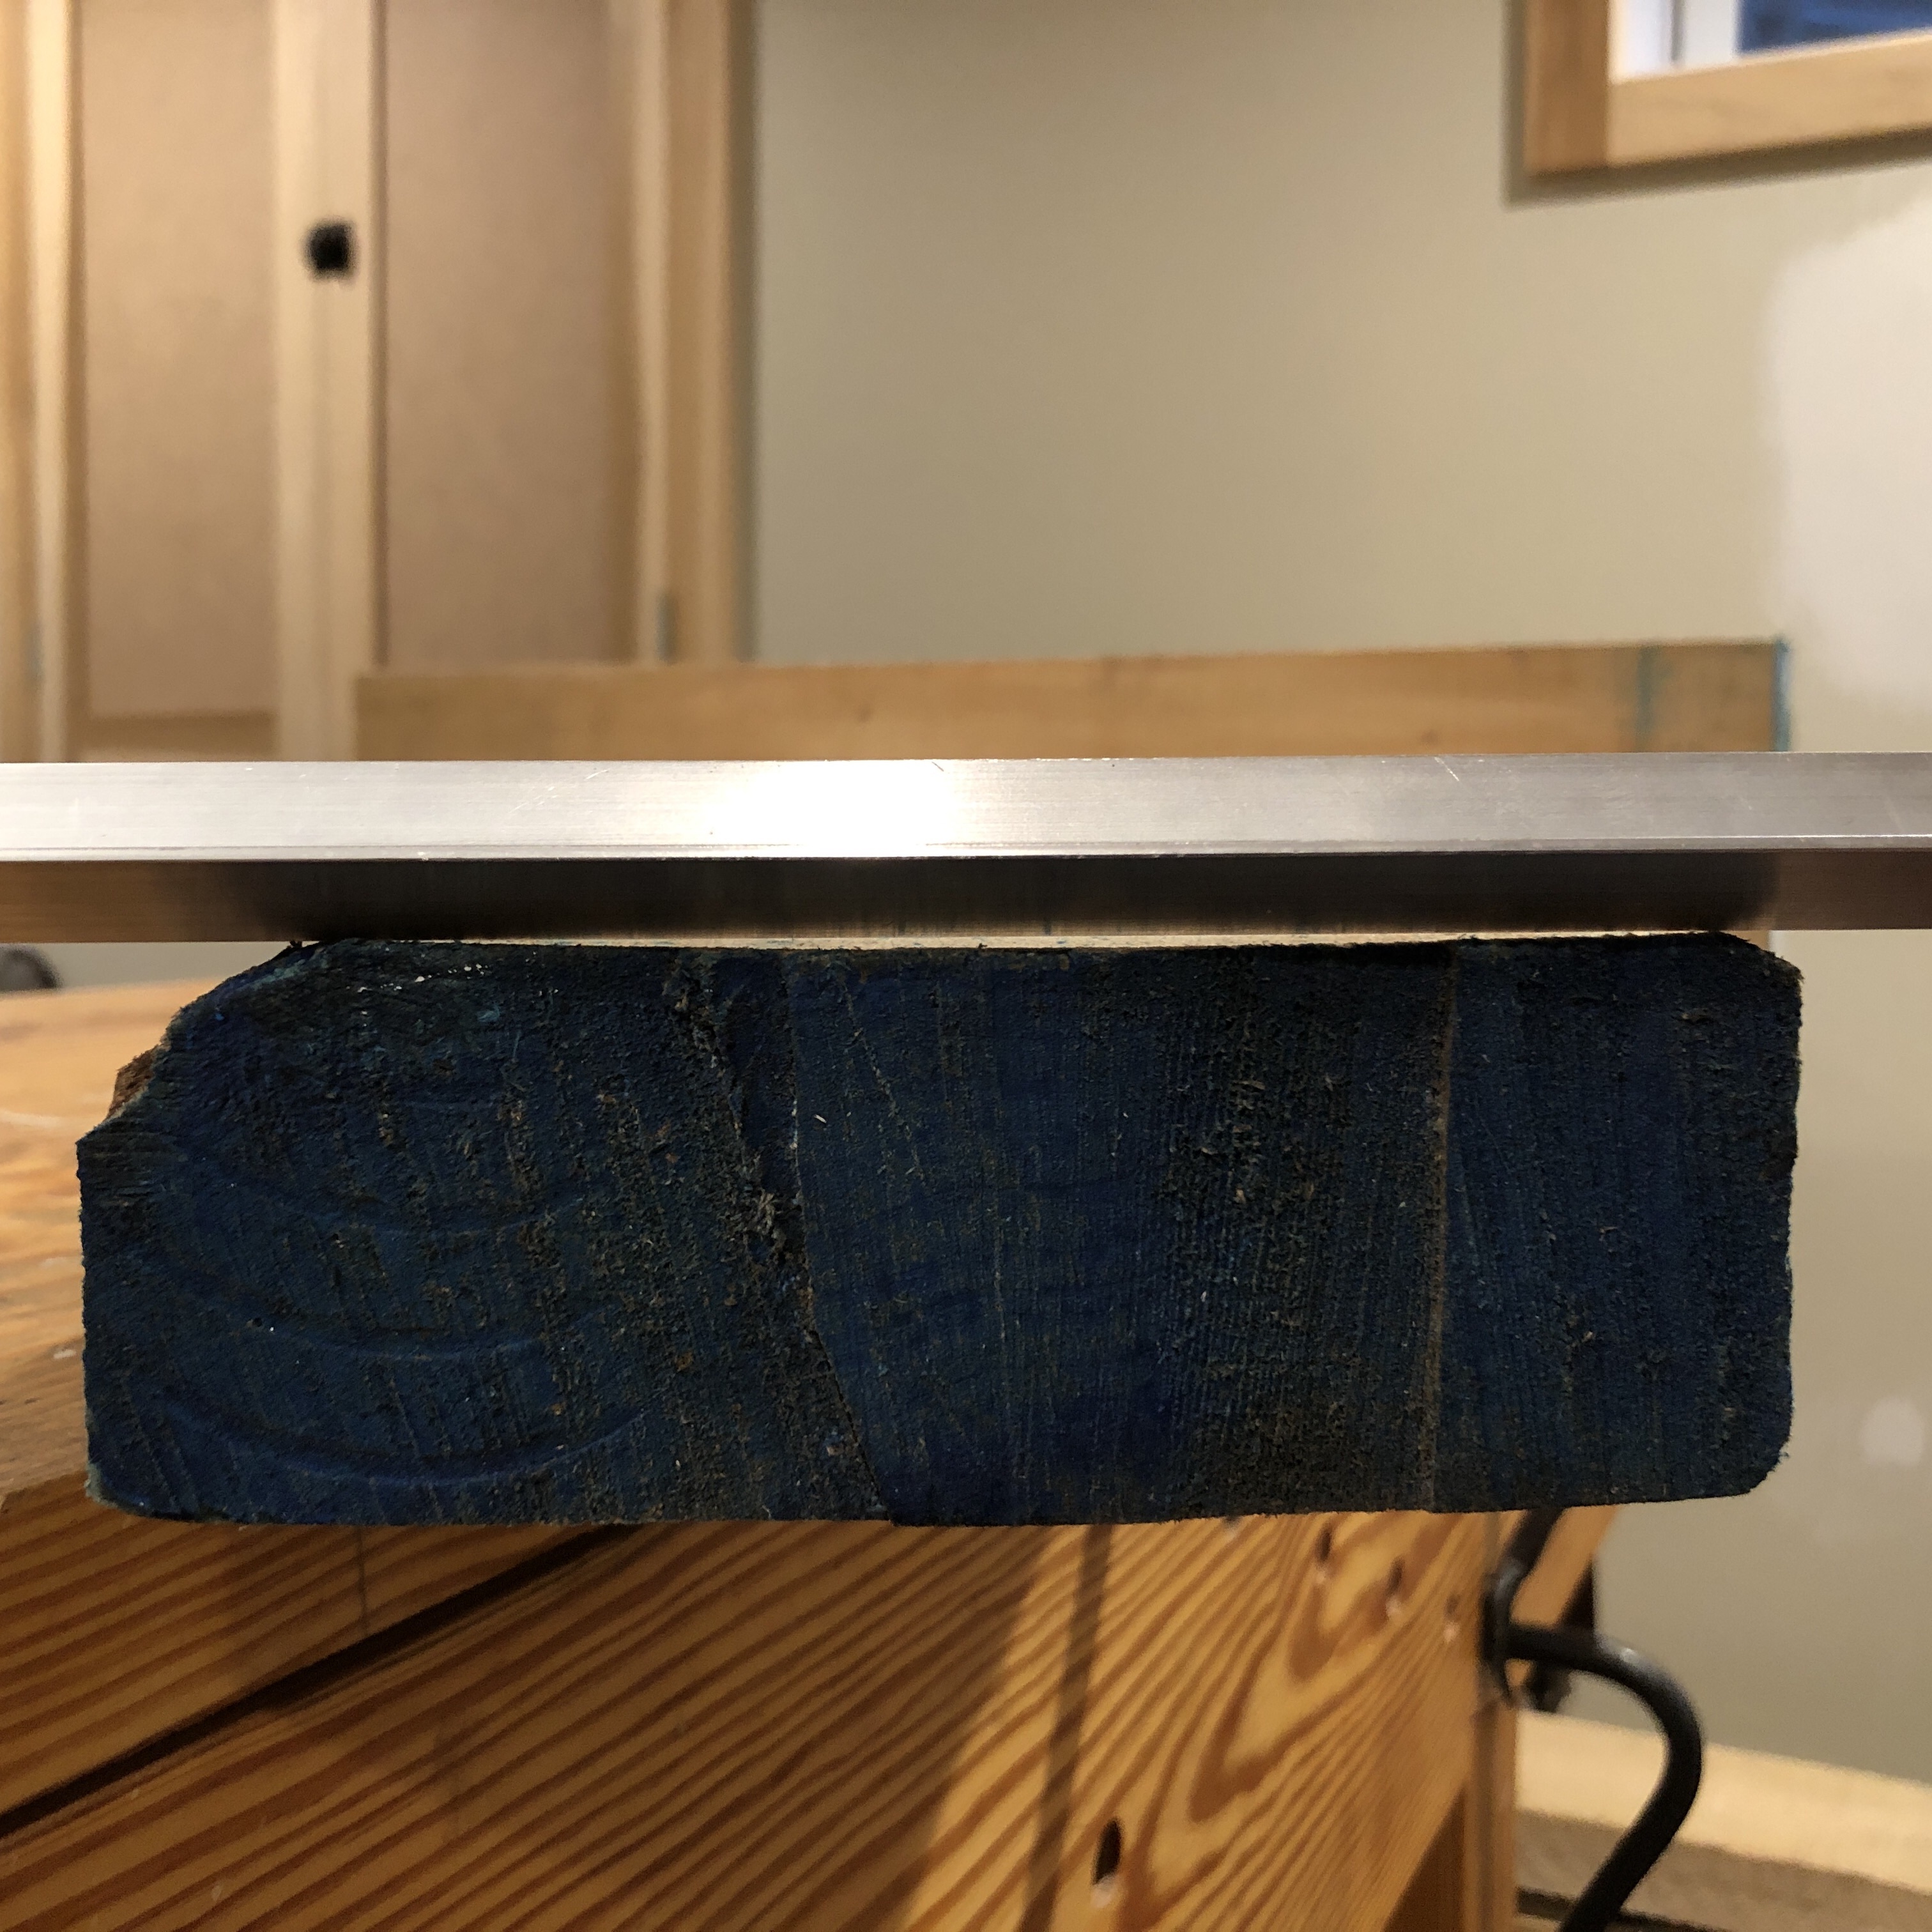
This is part two of a multi-part series intended to highlight some of the ideas being presented in the Handtool Woodworking Workshop at the Newark Cultural Arts Center in Newark, OH April 4 June 20, 2020.
From Cups, Bows, and Twists
Wood moves. It expands and contracts with changes in humidity. When it's being dried in a kiln (which this was at the sawmill), is when it tends to move the most. This early movement is why much of what you find at a sawmill is likely to be, well, not straight and not flat. That's ok. Don't worry. The next step is to begin flattening and squaring the parts.

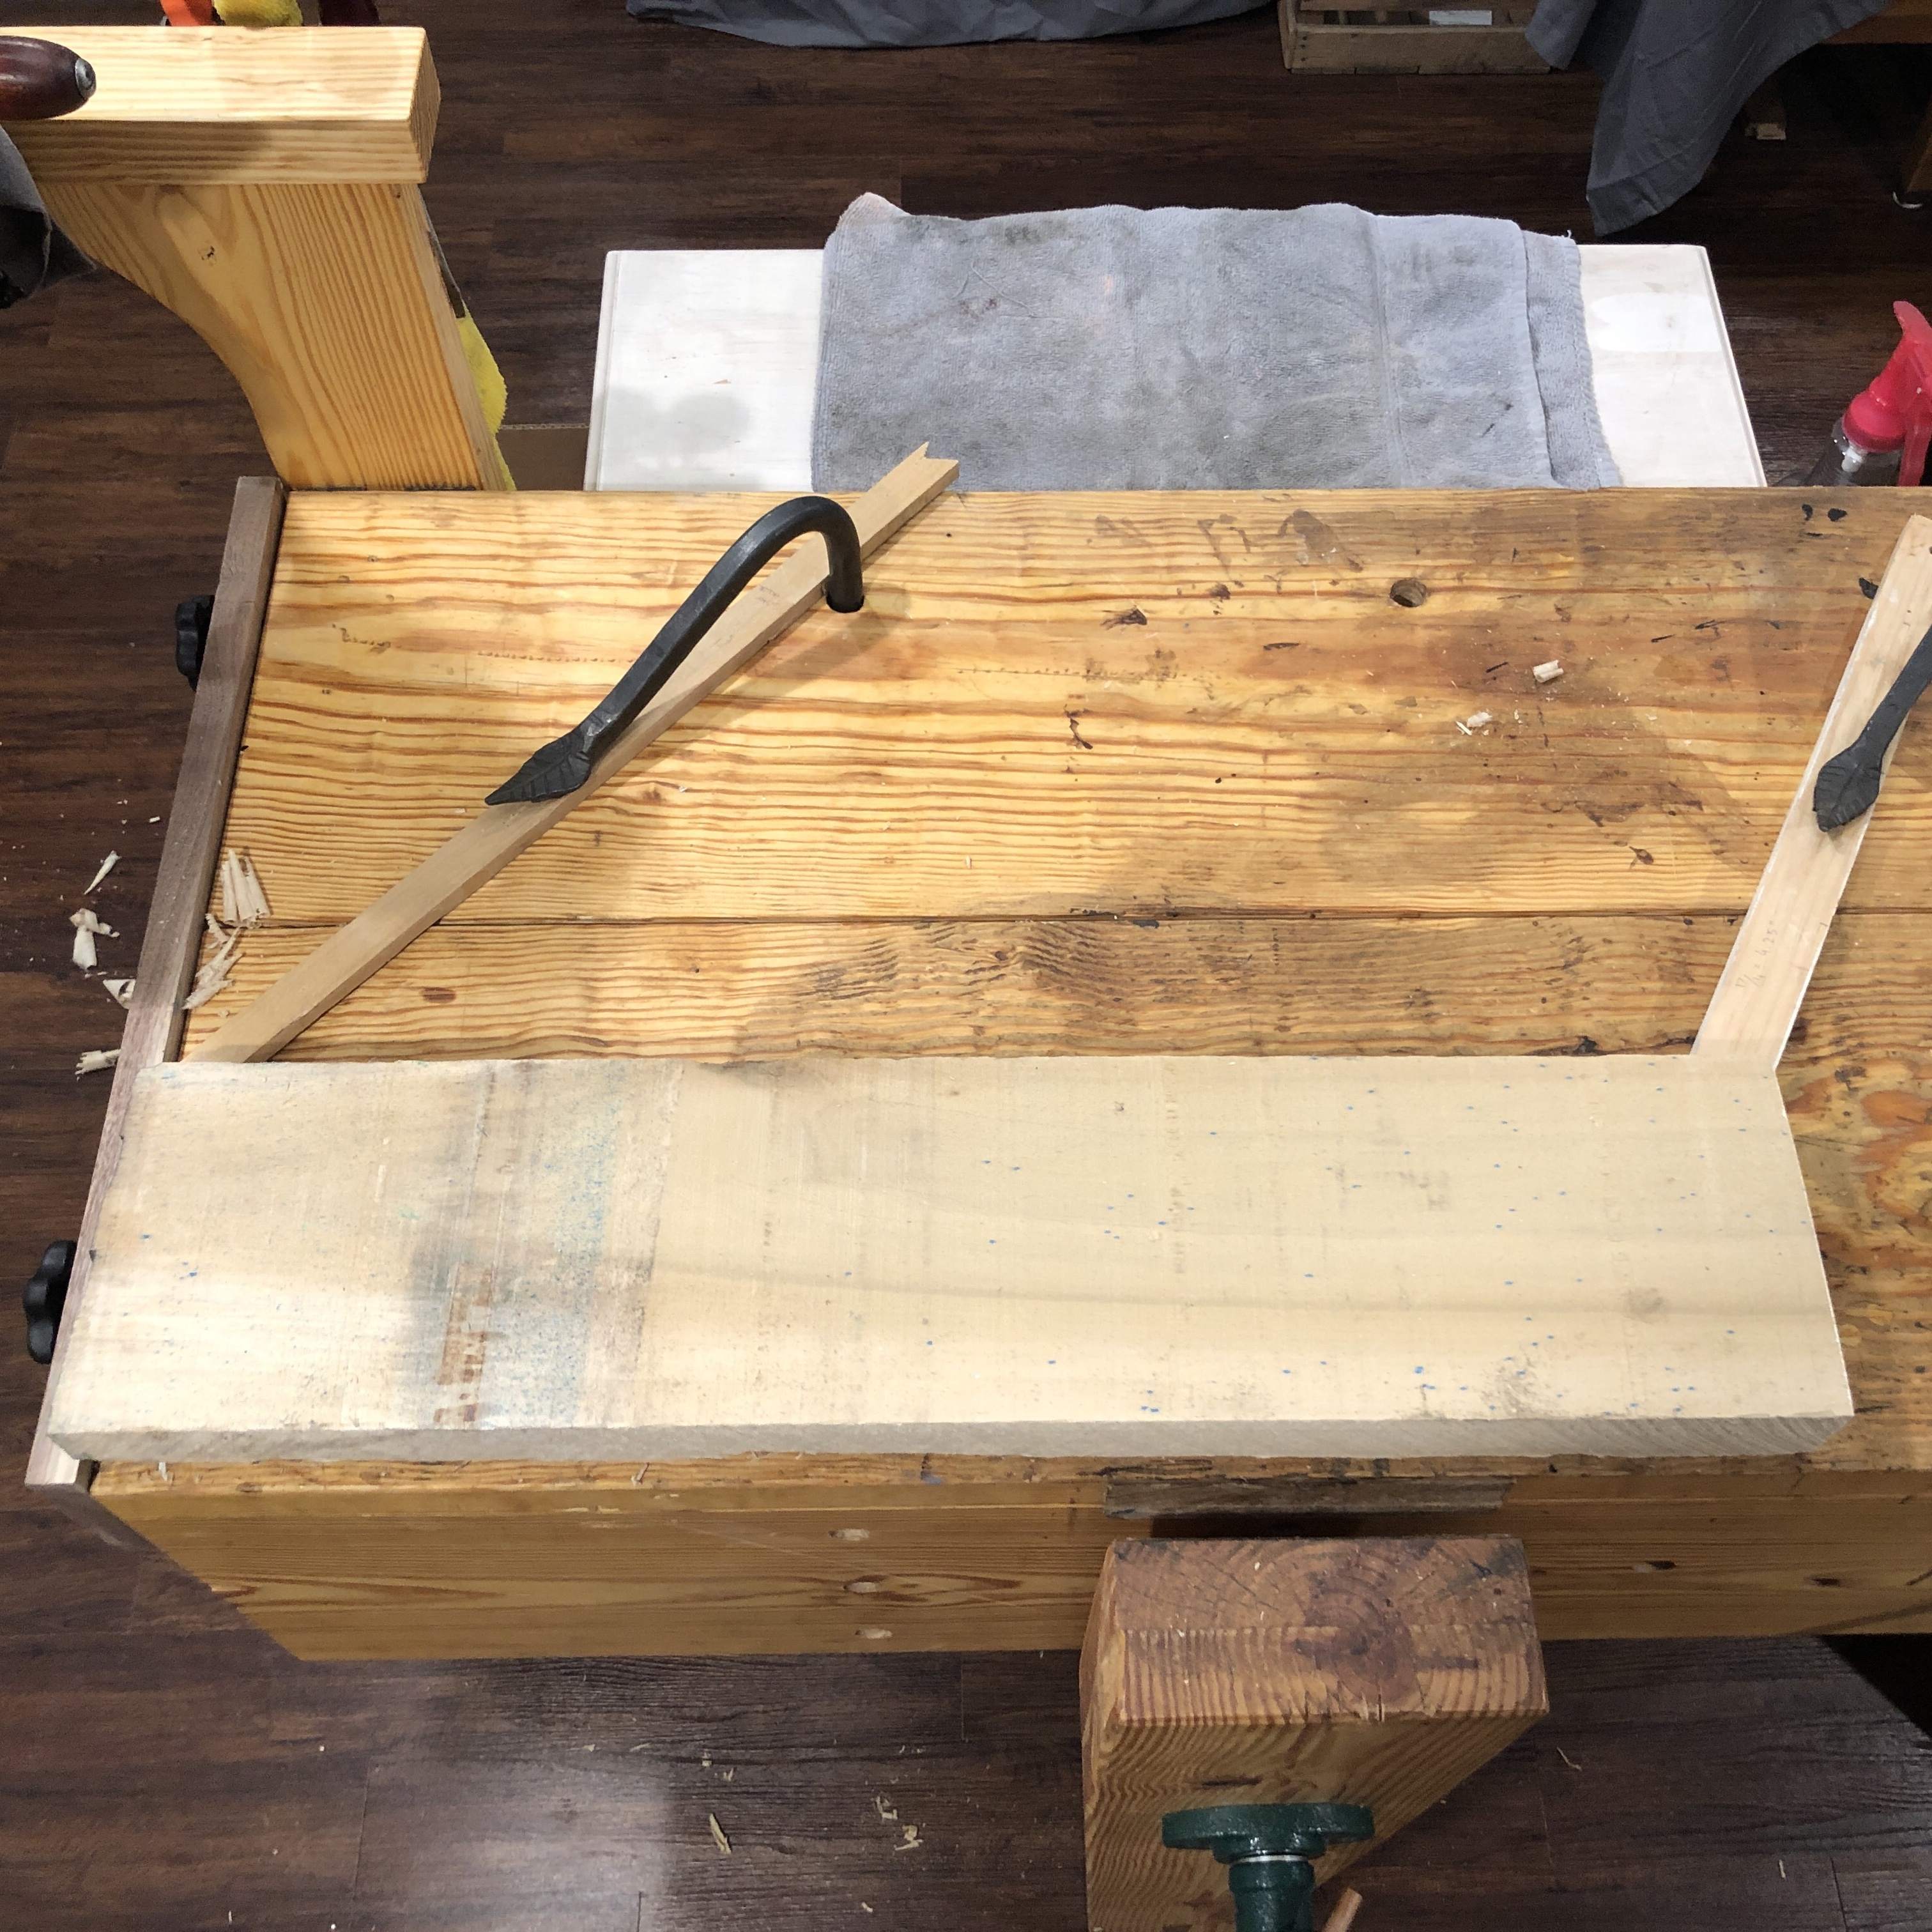
Simple workholding techniques hold boards in place so we can plane both across and with the grain. My workbench is simple - made with construction lumber from the home center - but built with intention. It's based on an English form and allows me to hold a board in place so I can work on the face, edge, and end. While I have one vise (a traditional leg vise), even that isn't a necessity. In fact, my first workbench was a hollow core door on plastic saw horses!
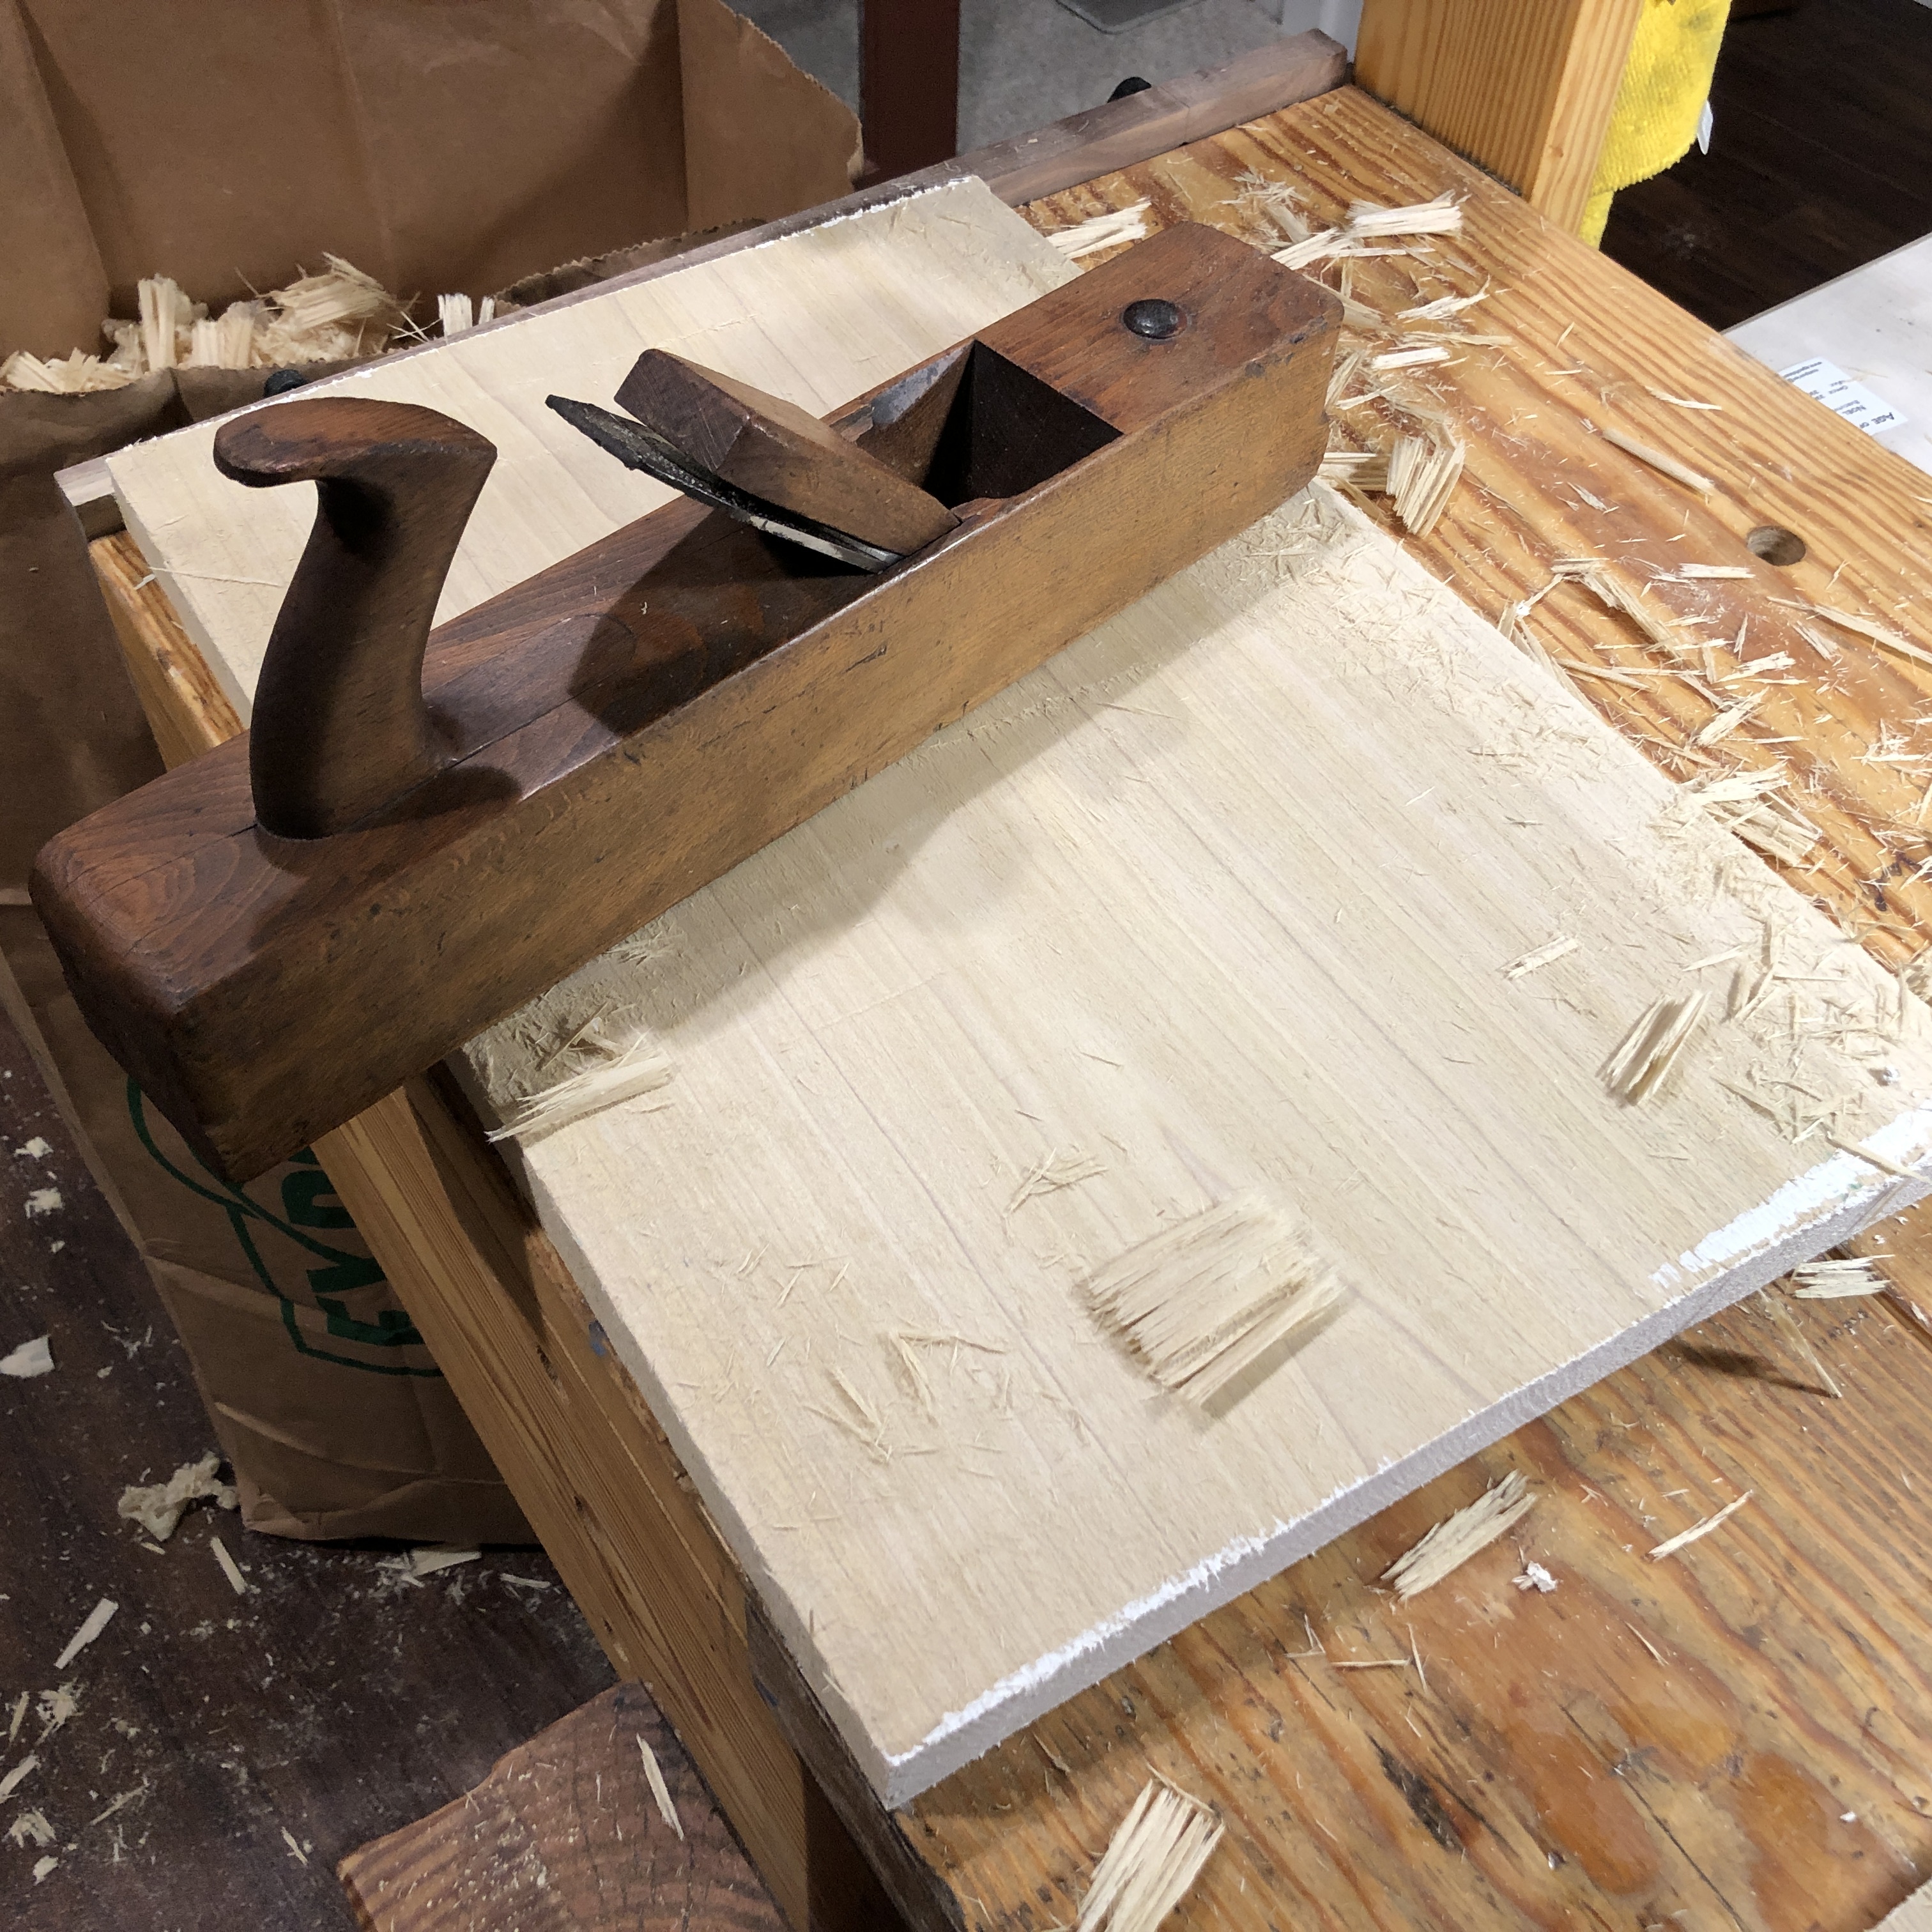
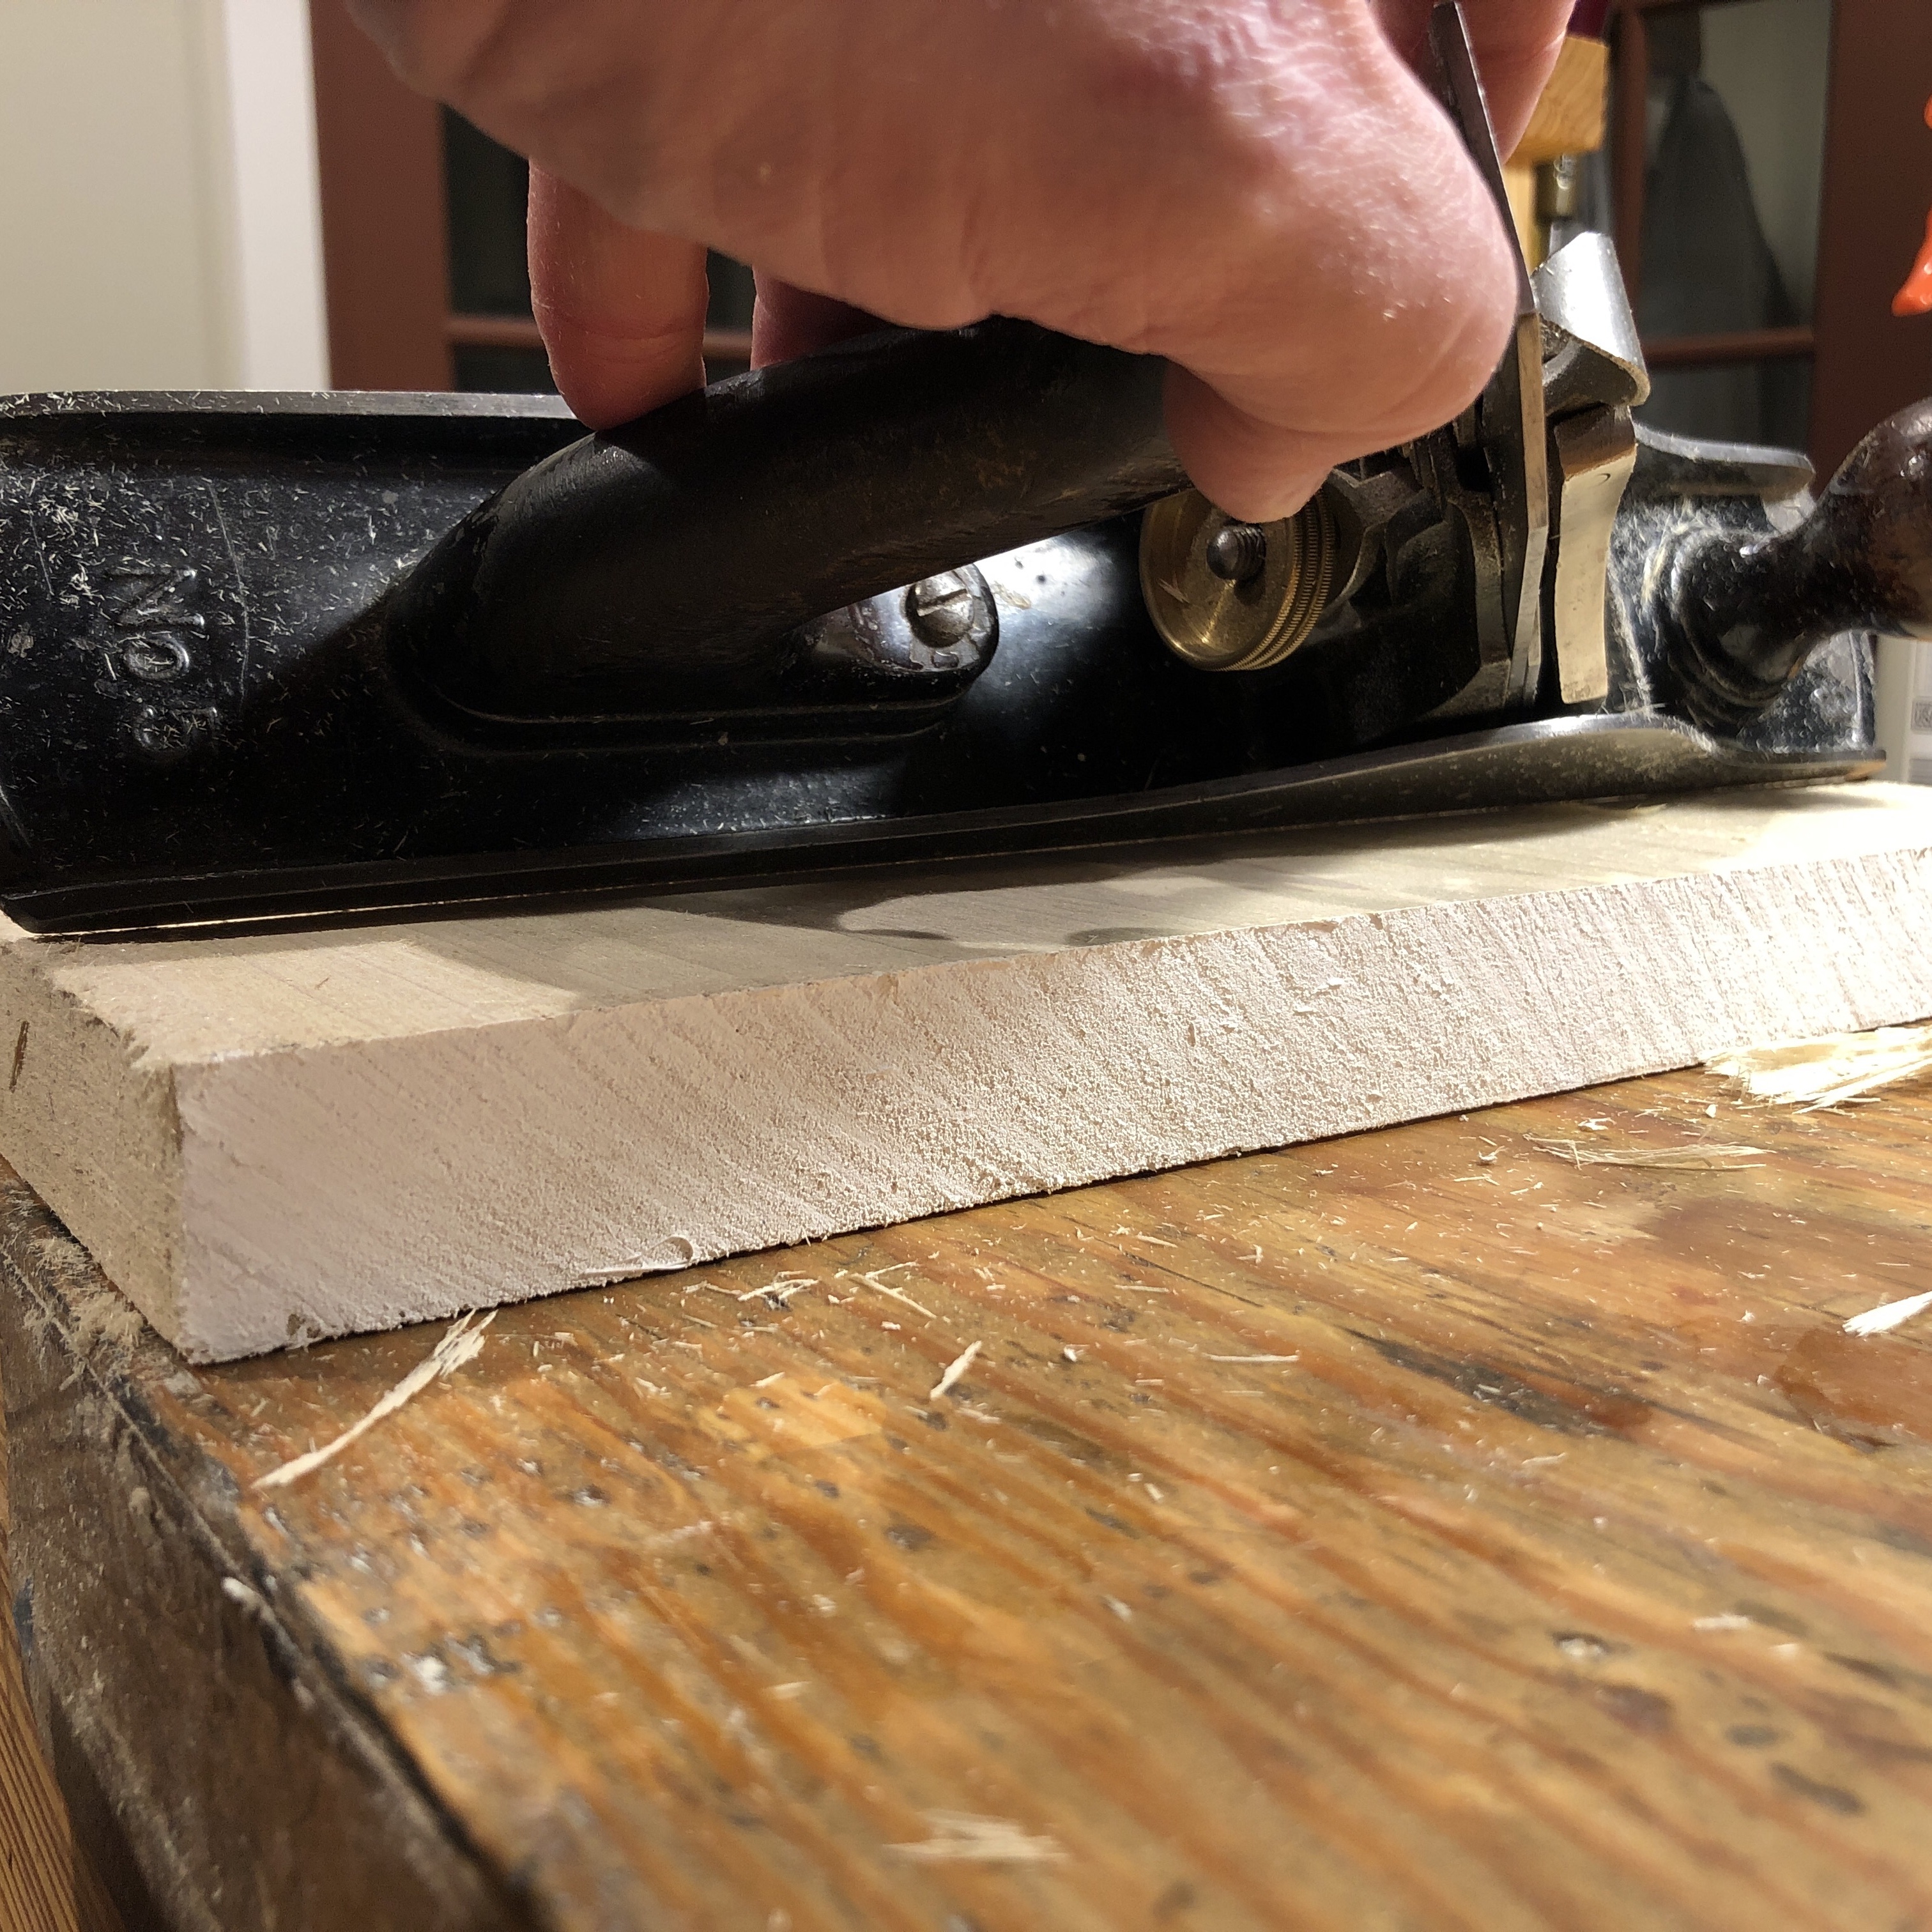
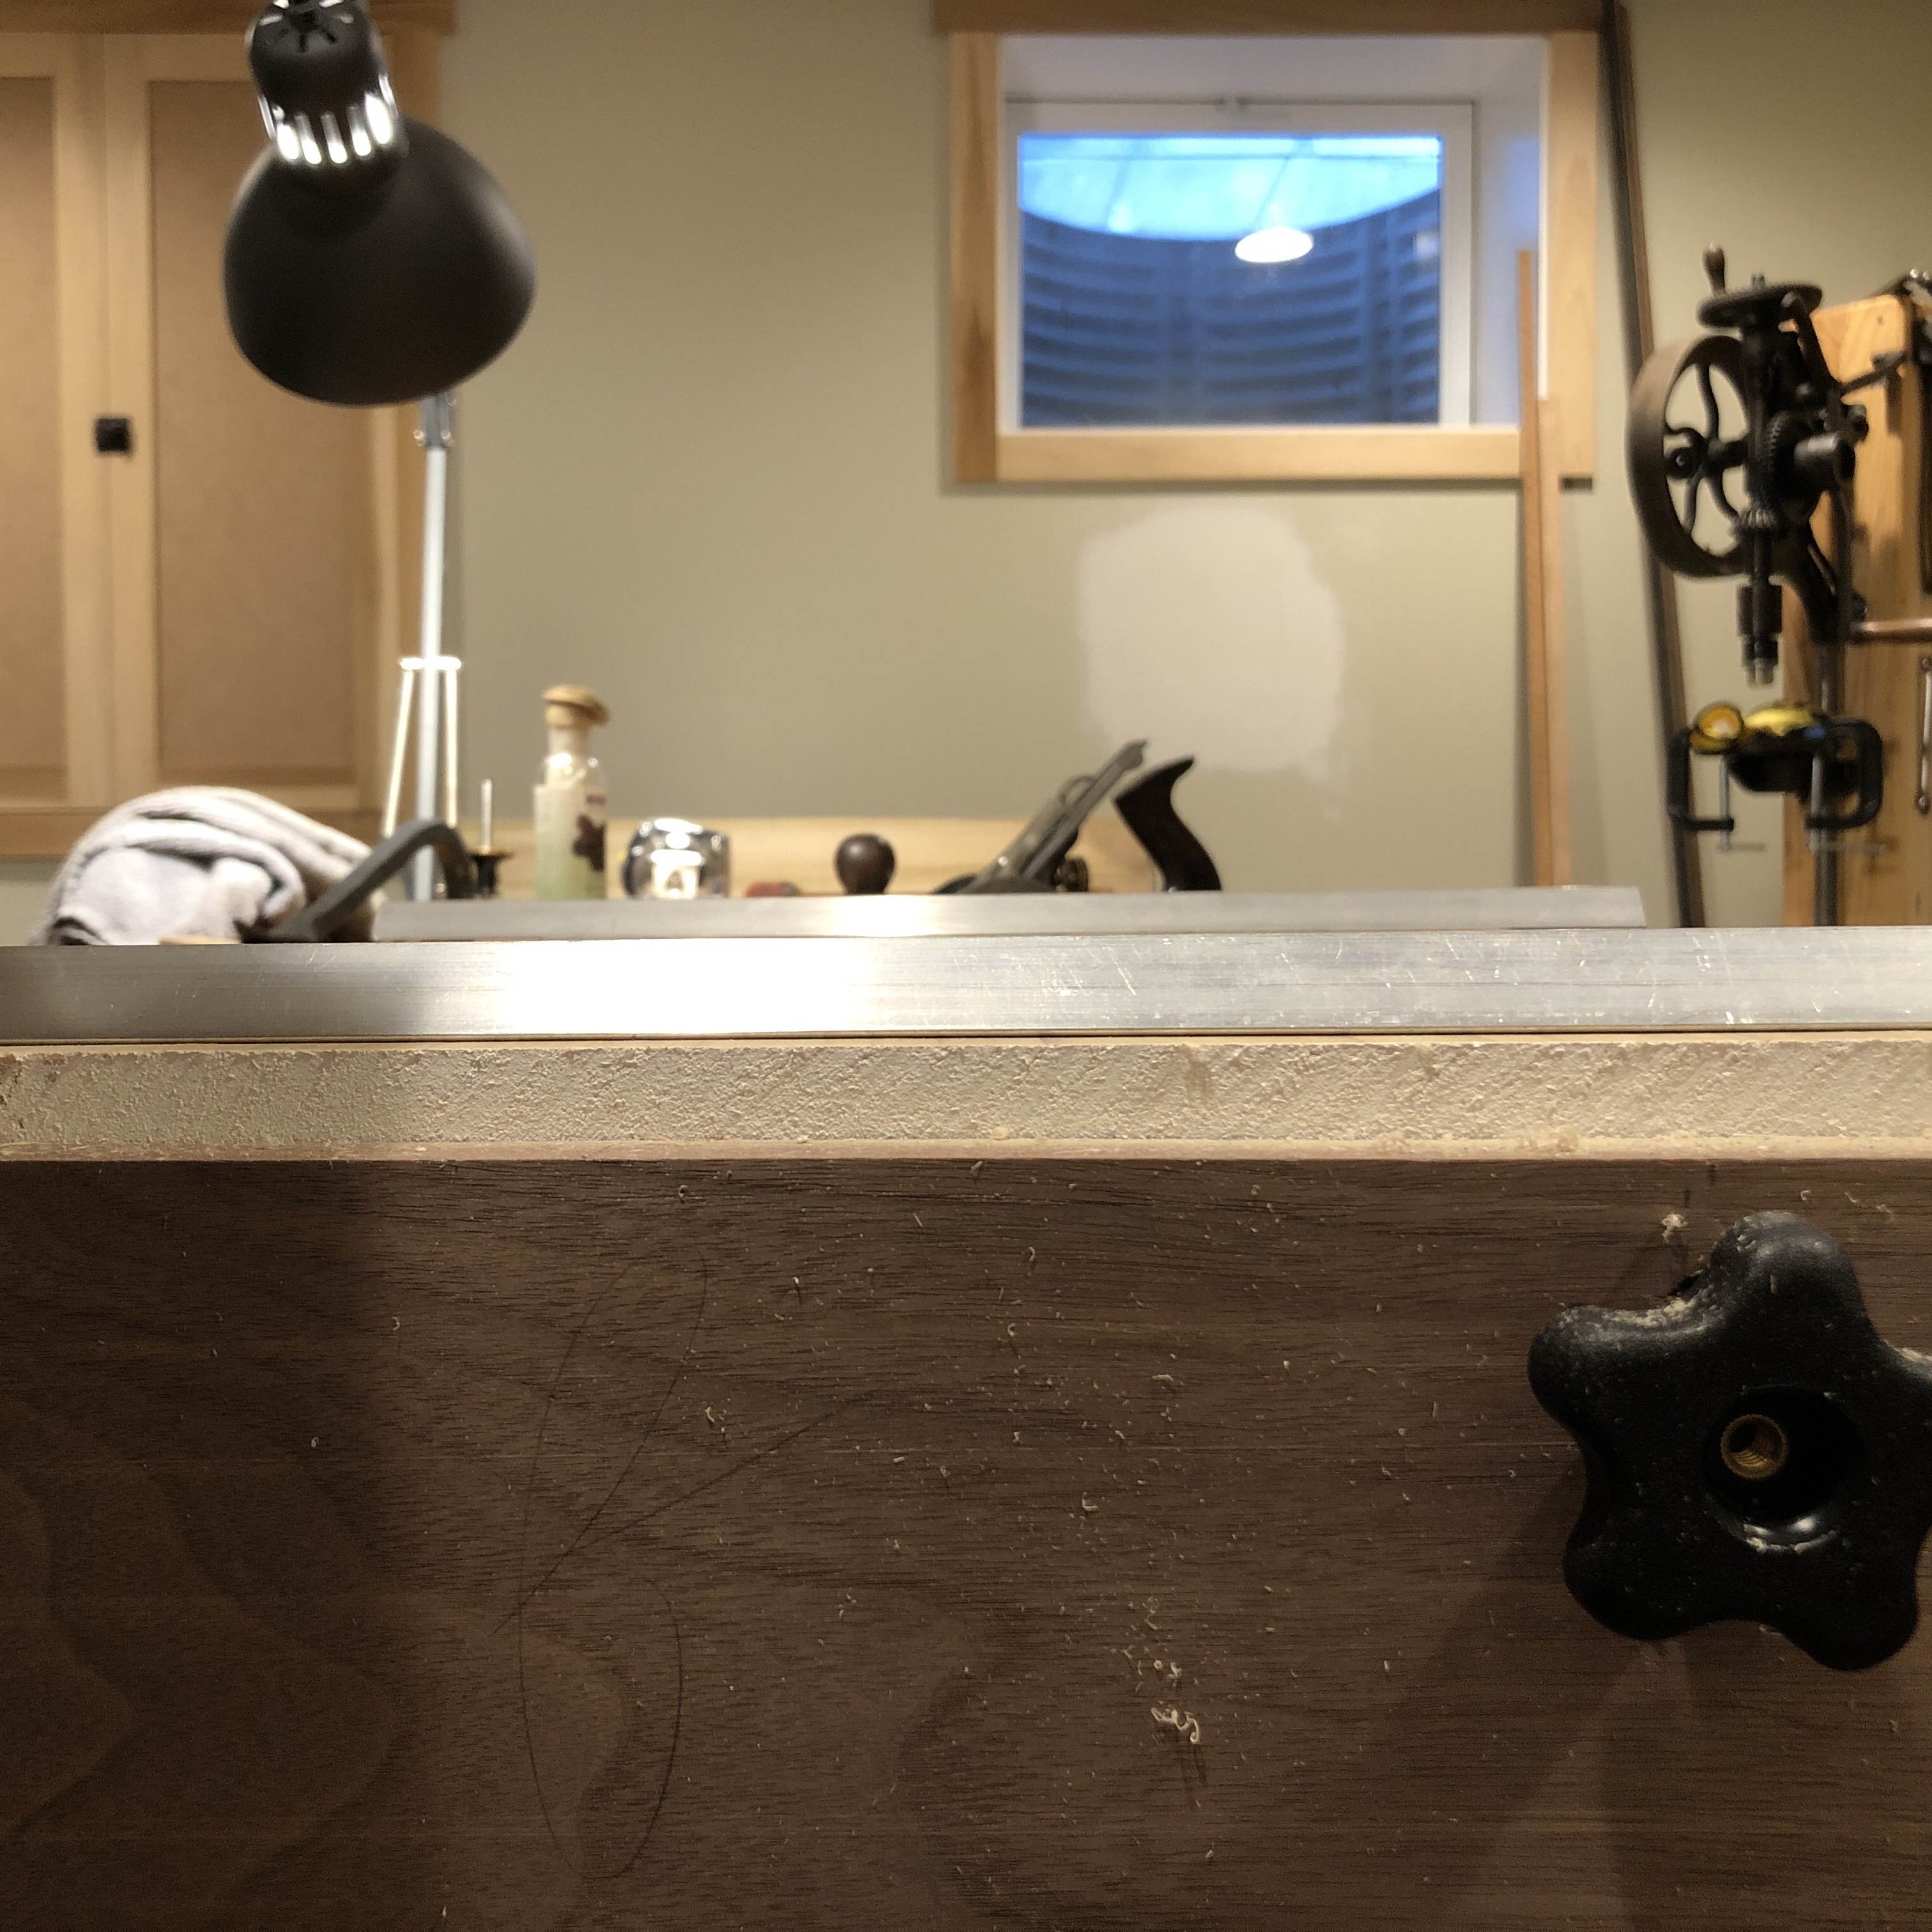
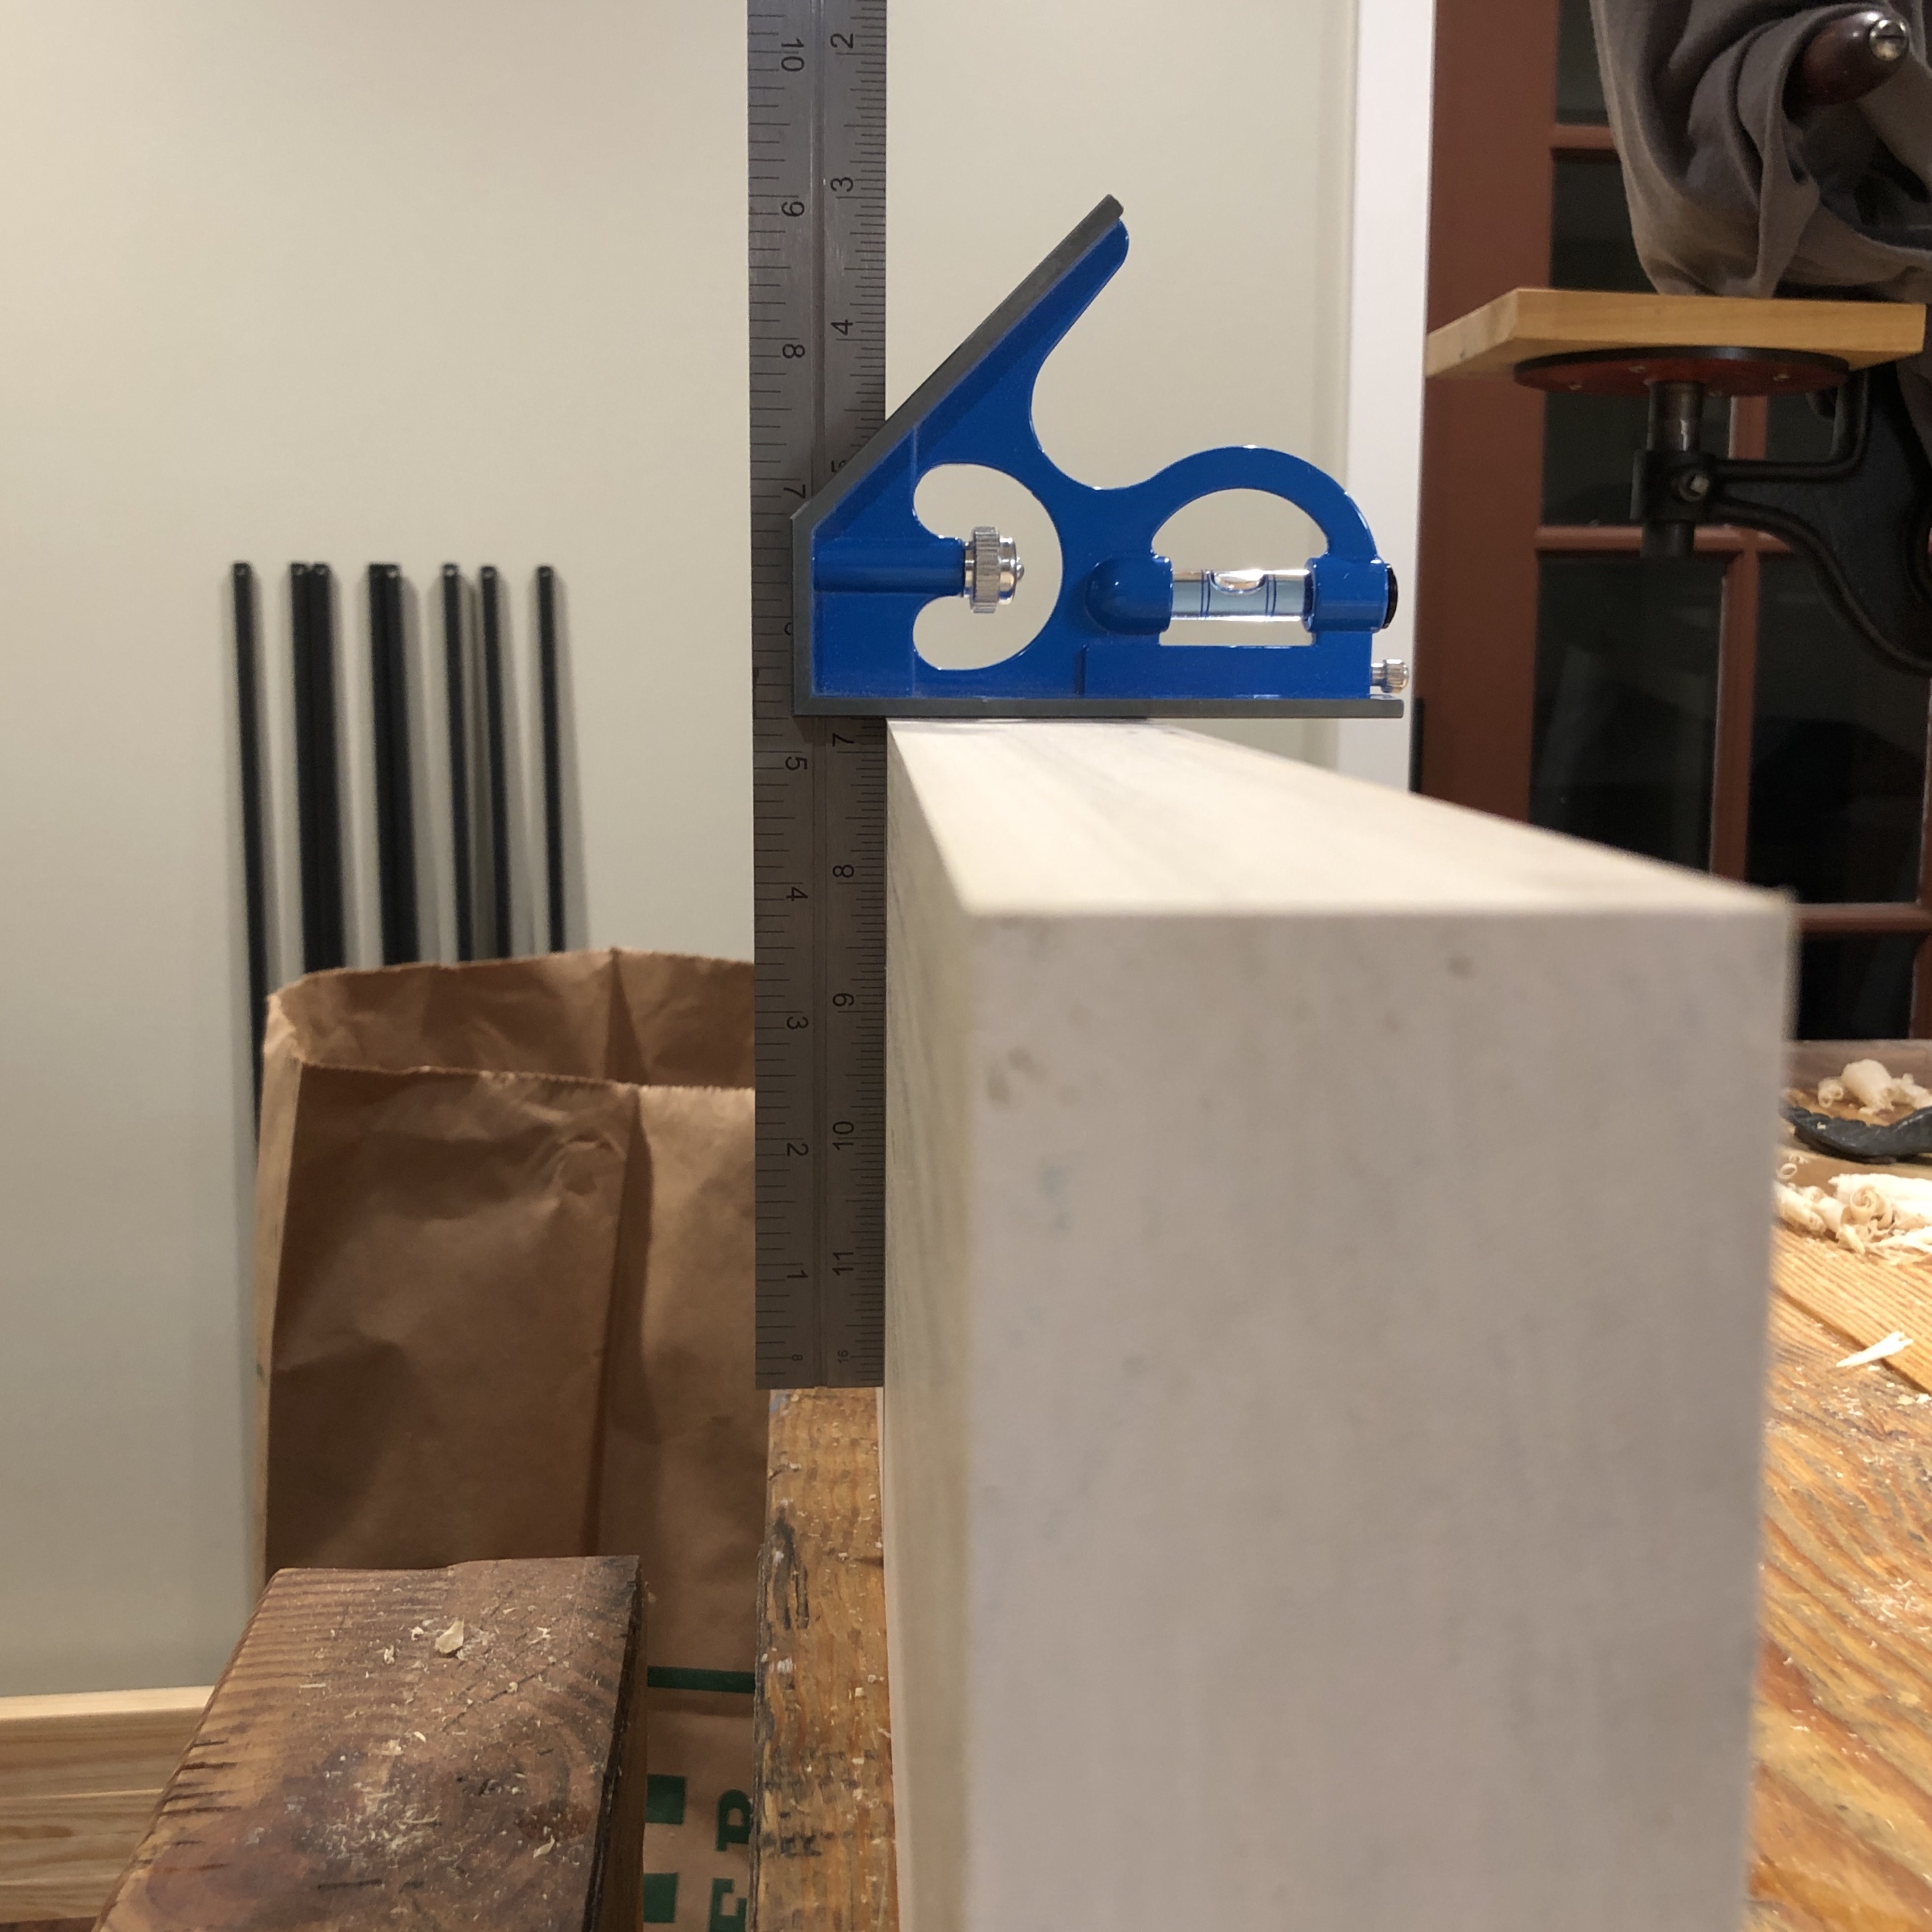
To Flat and Square
The roughness quickly disappears and from a flat face, a square edge is created. With flat and square, new cut lines are struck with a marking gauge and legs are cut from the board.
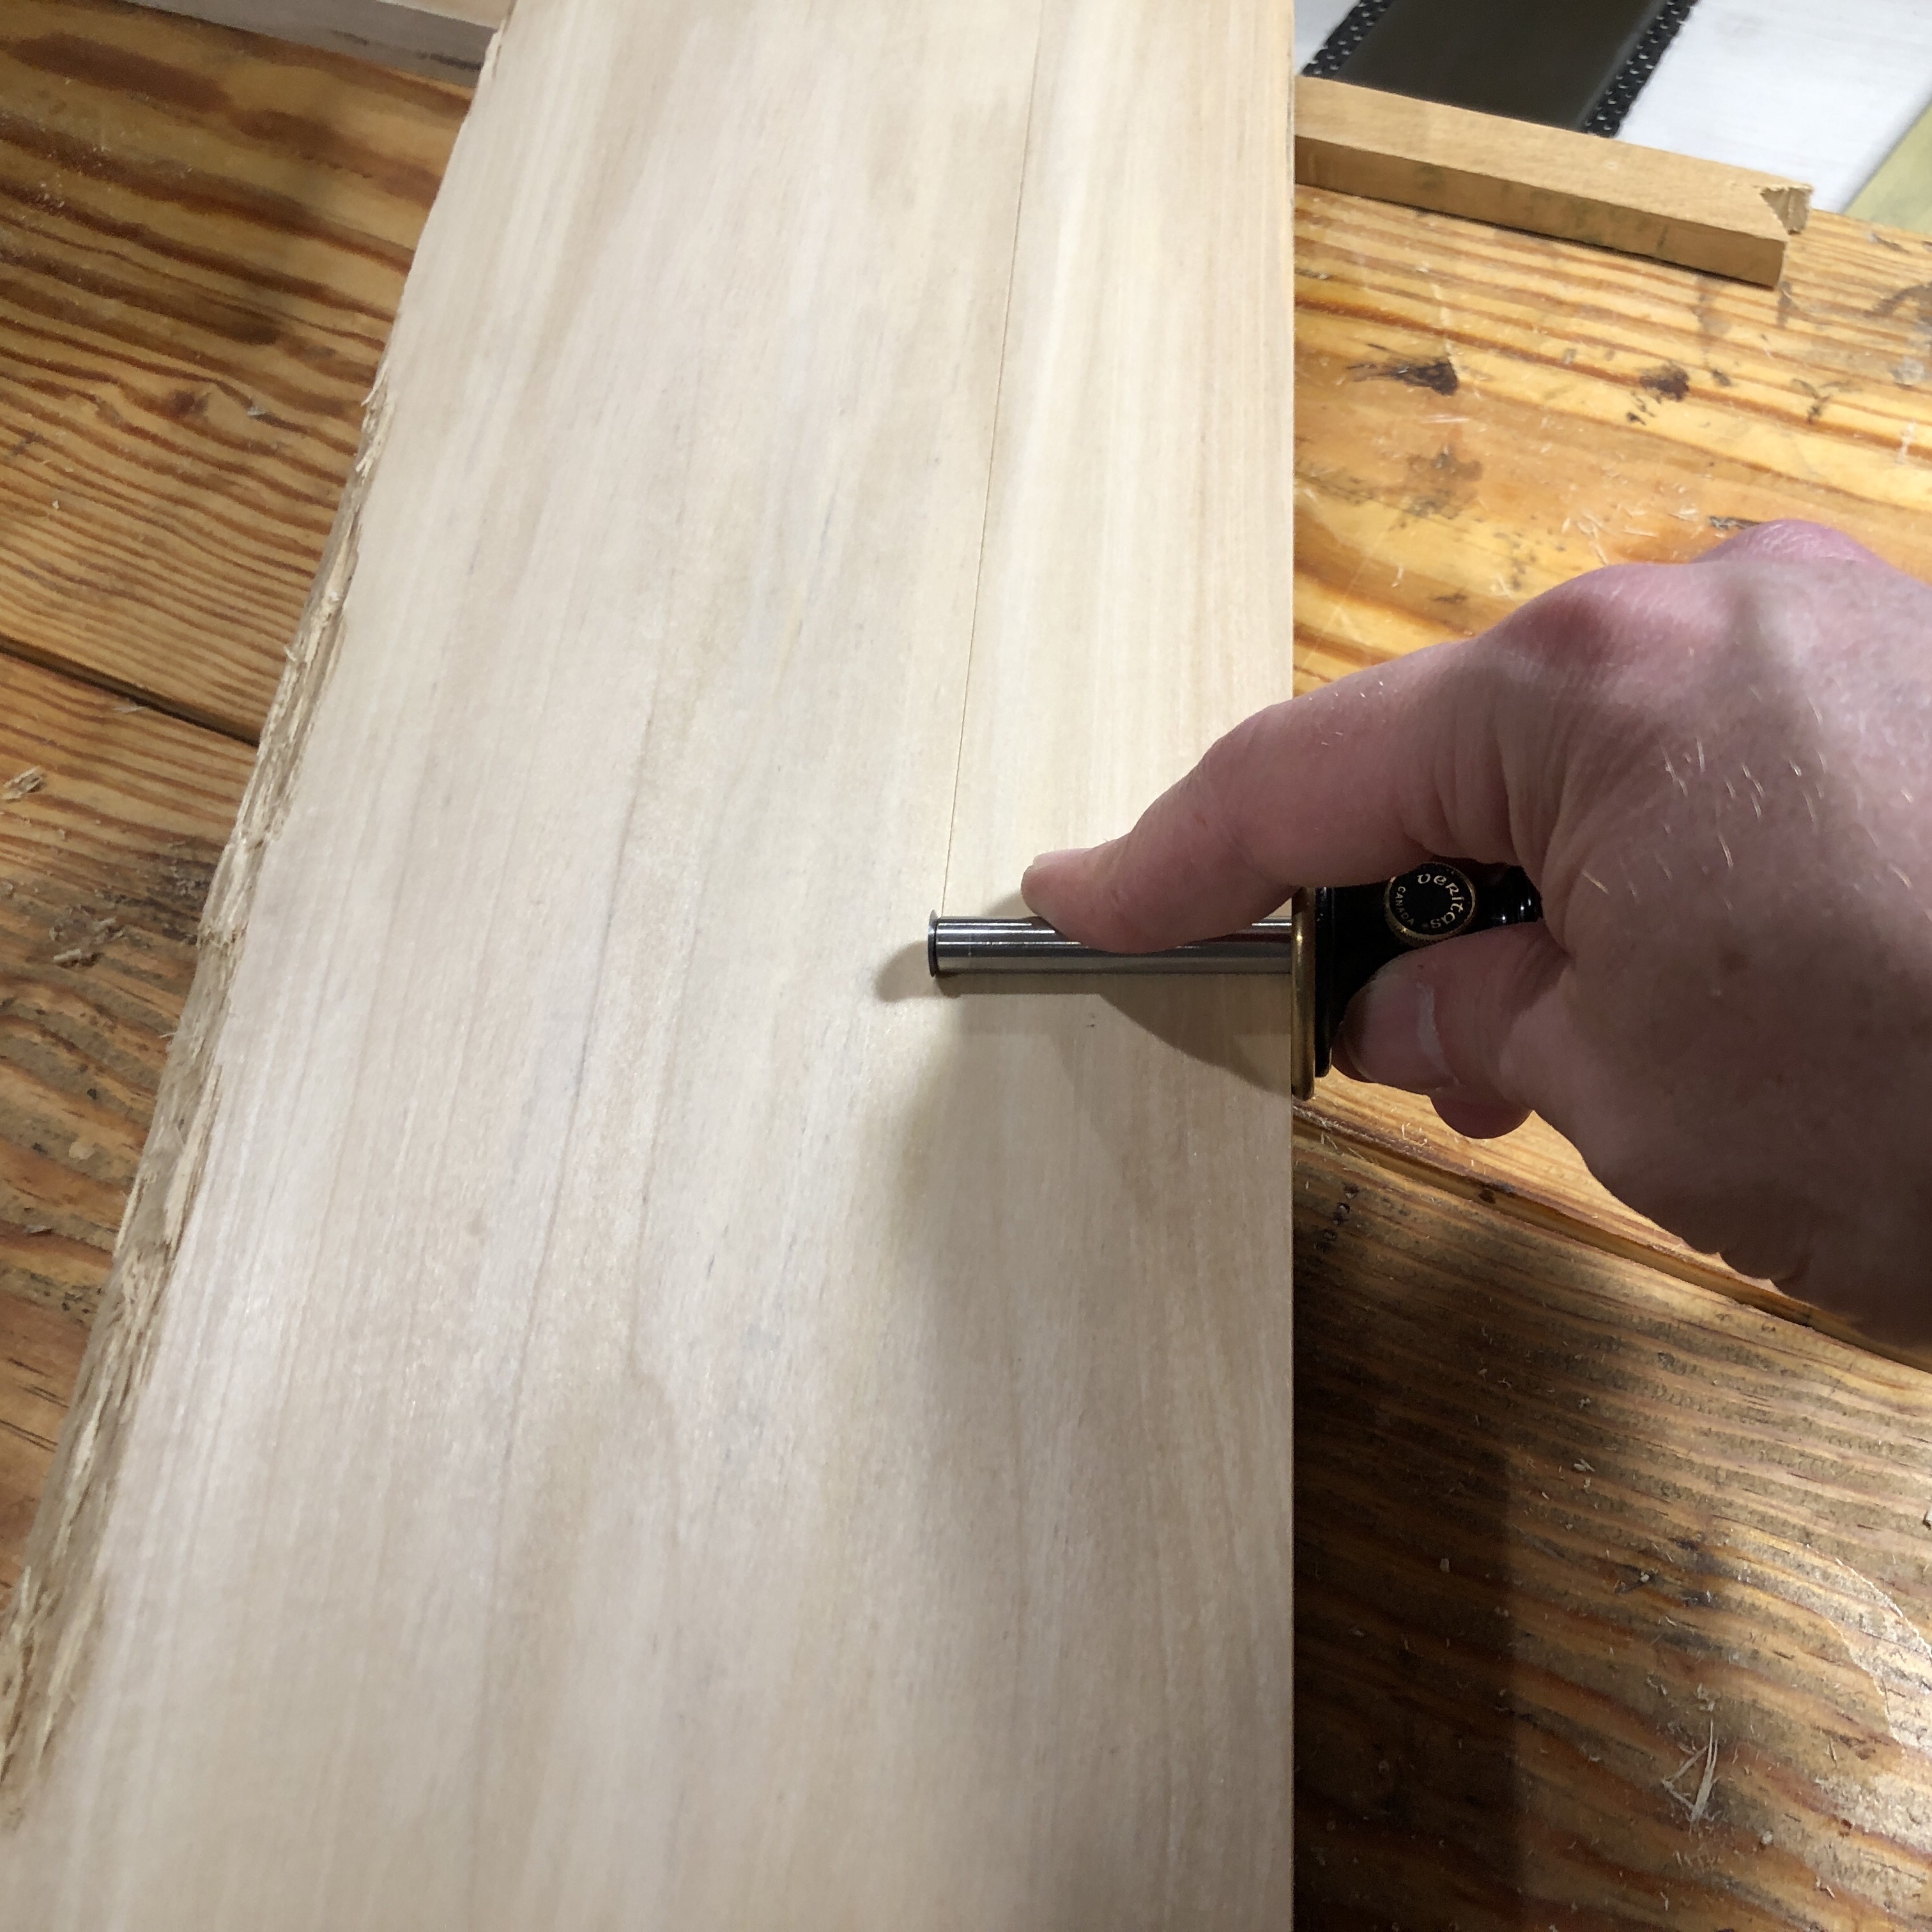

So far in the process I've used two saws, two planes, and miscellaneous layout tools (marking knife, marking gauge, square, pencil, tape measure). While future steps include a few more tools than this, the entire collection represents a basic tool set that's easy to aquire, generally affordable, and with simple care, will last the rest of your life.