Shaker-style Side Table - Part 1
published on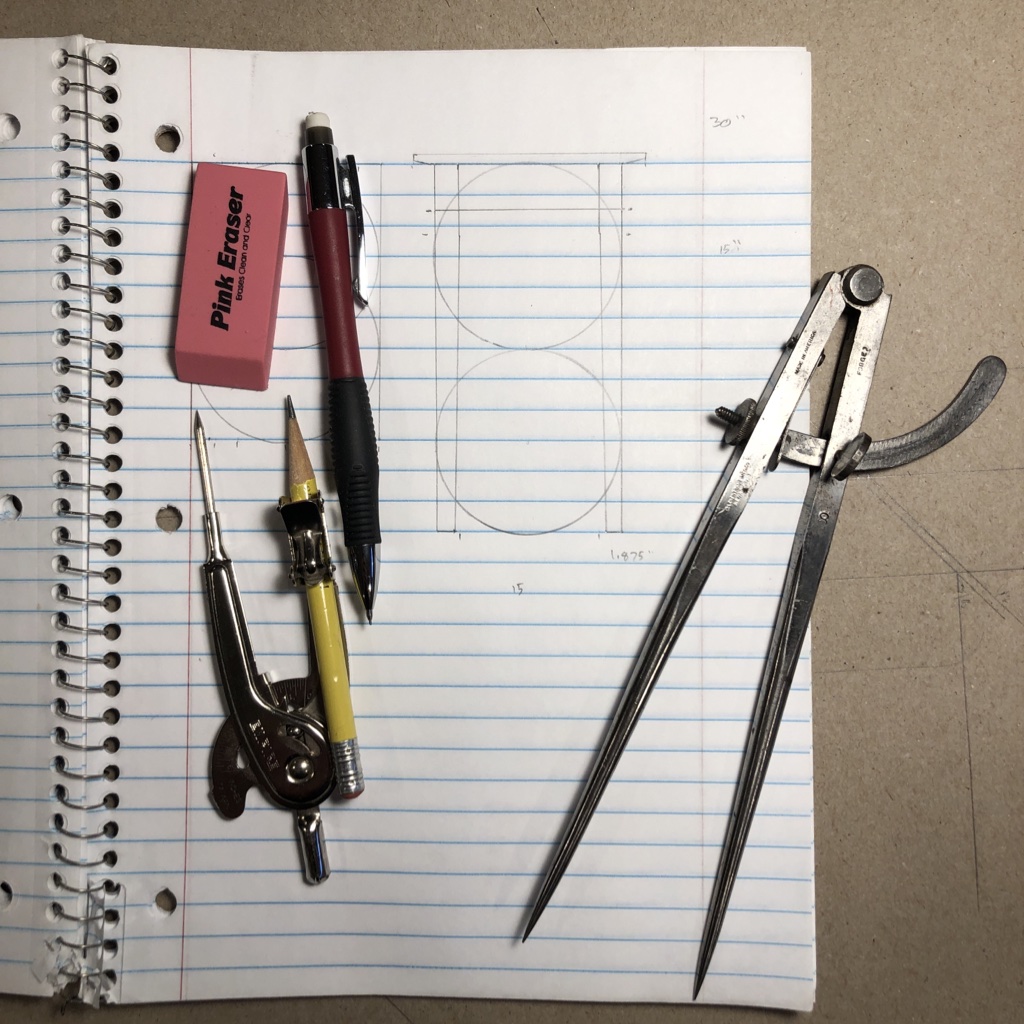
This is the first part of a multi-part series intended to highlight some of the ideas being presented in the Handtool Woodworking Workshop at the Newark Cultural Arts Center in Newark, OH April 4 June 20, 2020.
Until I realized as an adult that I couldn't afford the space or the power tools needed to do the type of woodworking I wanted, handtool woodworking (you know - like the 1700s), hadn't been on my radar at all. It wasn't until I googled, "How did they build furniture before electricity?" that I stumbled into the very modern world of handtool woodworking.
The good news is that books are still being published, videos created, blogs written (ahem), and knowledge being shared online and offline. New tools of excellent quality are being manufactured in North America, but in Ohio we are fortunate to benefit from a large supply of quality vintage and antique handtools capable of doing their jobs beyond even our lifetimes.
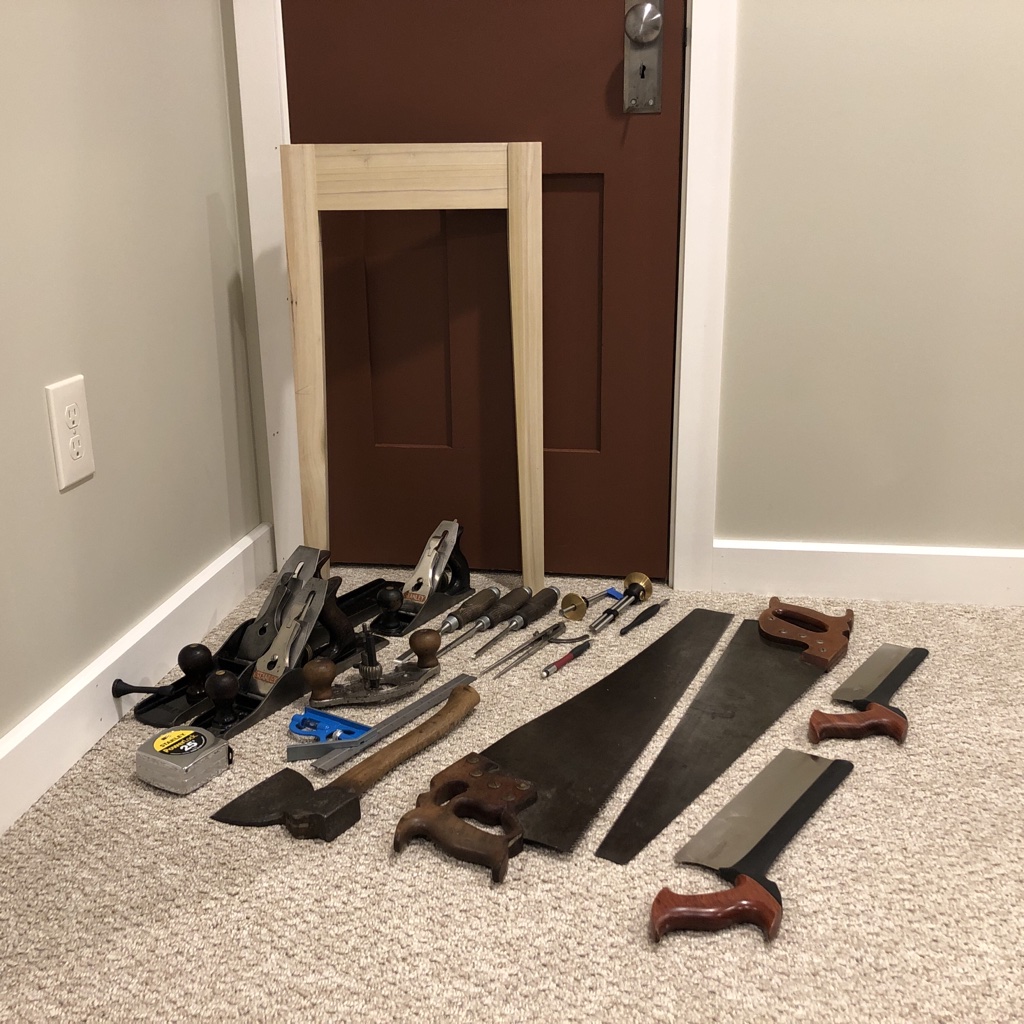
The aim of the Handtool Woodworking Workshop is to introduce the core ideas of handtool woodworking to attendees who perhaps hadn't considered handtools before and may even be new to woodworking. Being only a one day workshop, it won't dive deep into any one area, but we'll explore a broad range of topics including the basic tools, operations, workbenches, and resources available to learn more. We'll be hands-on as we go through using different tools, performing different operations, and work together to finish building the remaining parts of a small side table that we'll donate to the Newark CAC.
Design
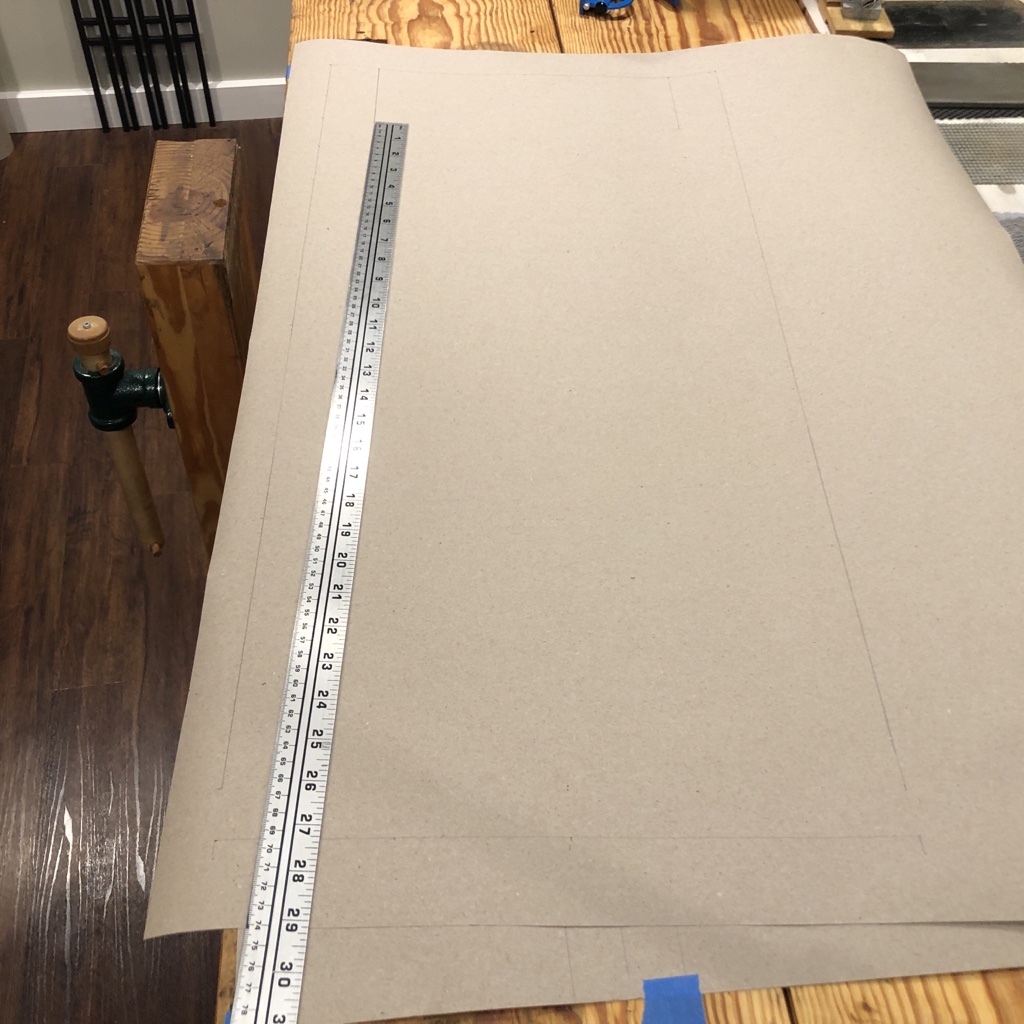
There are no measured drawings and tape measures are used very little in this approach. Using simple whole-number ratios to lay out the height, width, and other dimensions, each part bears a visual relationship with the whole. The ideas are described more in By Hand and Eye, but are time tested (since the Greeks).
We'll discuss using a simple 2:1 ratio (two units high, one unit wide) to create the basic form of the table. This is scaled up to full size for better imagining what the real thing would look like. Cutting lengths and sizes can also be transferred from this to parts during construction.

Picking out Lumber
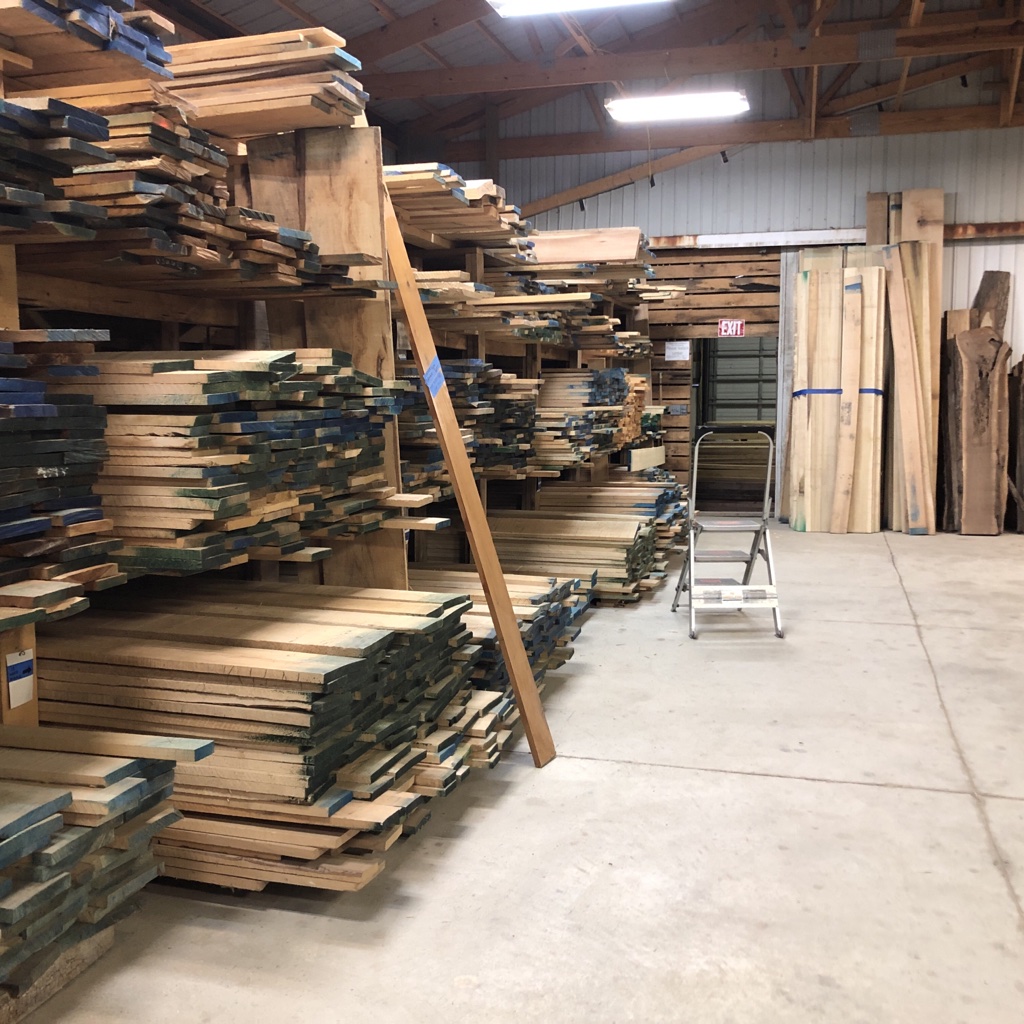
With hand (and power) tools we have the advantage of choosing lumber from a sawmill (Almendinger's in Johnstown is good), rather than paying high prices for limited selection at a home center. The lumber is sawn rough in various widths and even lengths, so there'll be some flattening and squaring to do back in the shop.
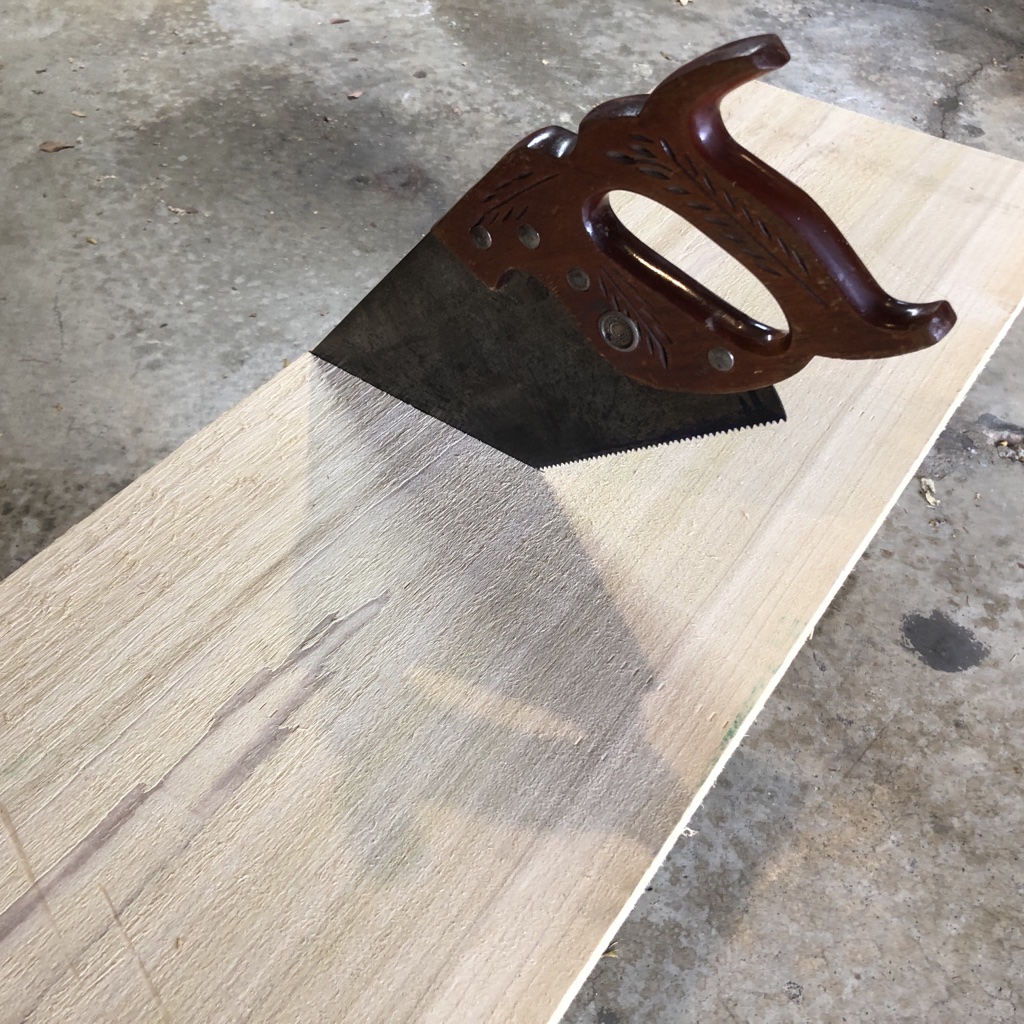
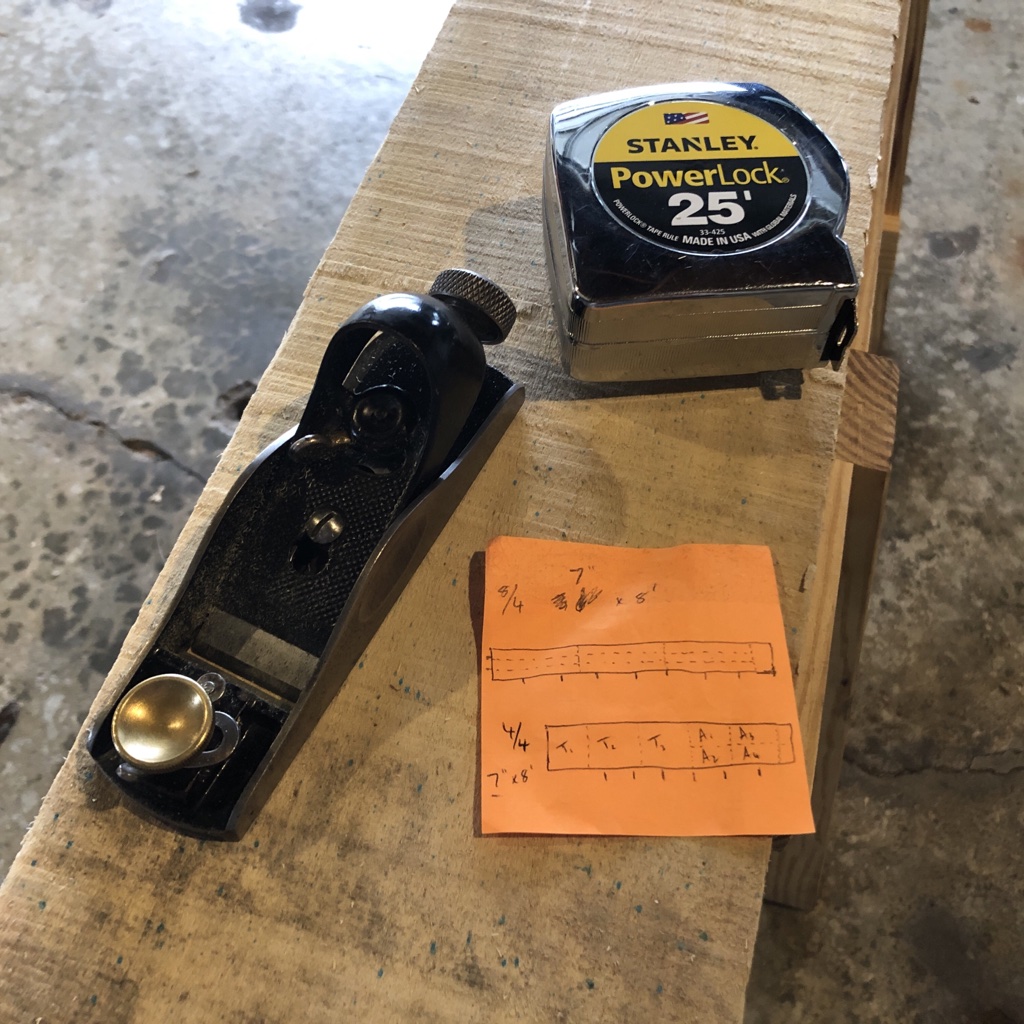
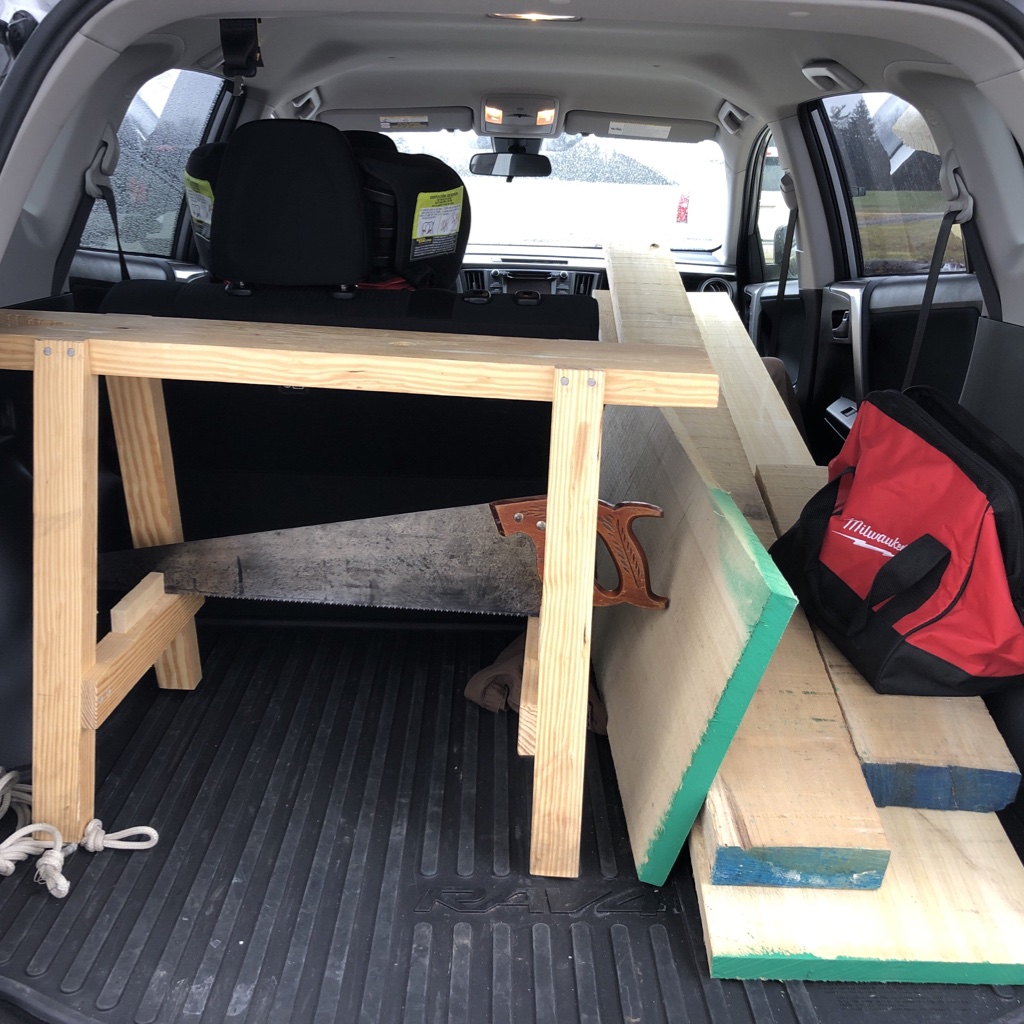
Armed with a rough cutting diagram in hand, I knew where to cut the 10' long boards so they'd fit in our SUV. A sawbench (quick to build and is a great skill builder) and a sharp handsaw can help break down lumber in the parking lot.
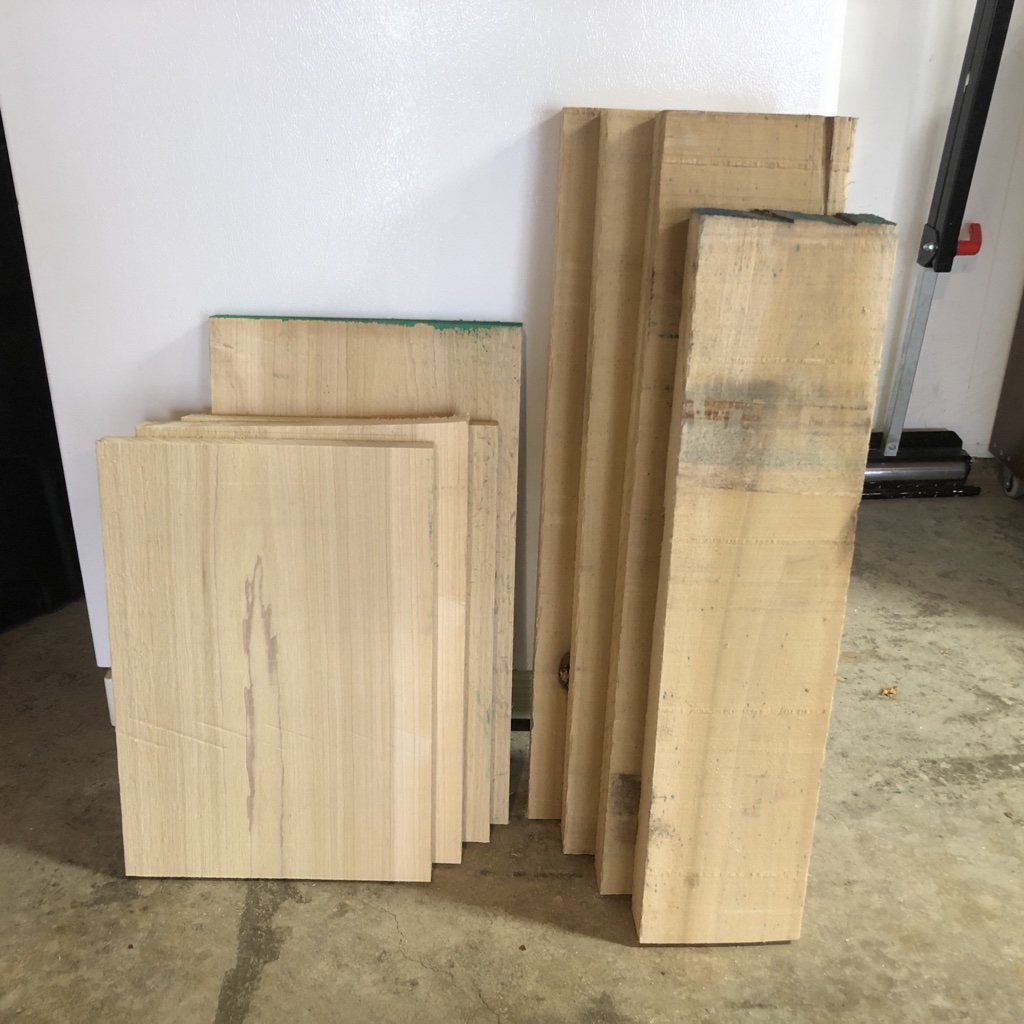
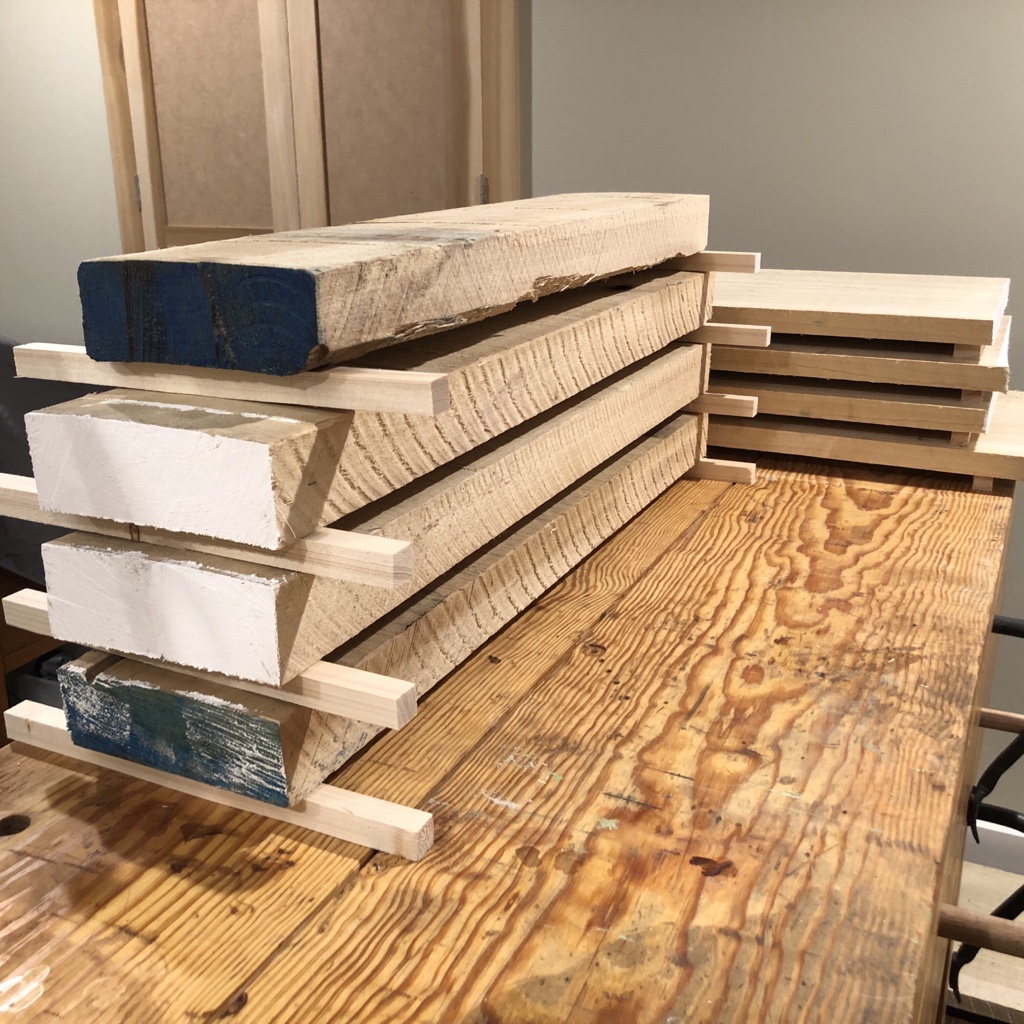
Breaking it Down
The parts are laid out and cut slightly oversize, but will be refined later. Down in the shop, parts are stacked with stickers between them so they have a chance to acclimate for (in this case) a few weeks to the humidity (or lack of) at home.